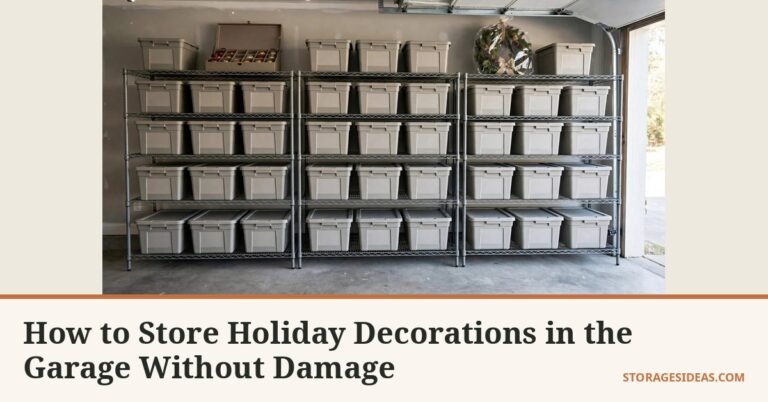
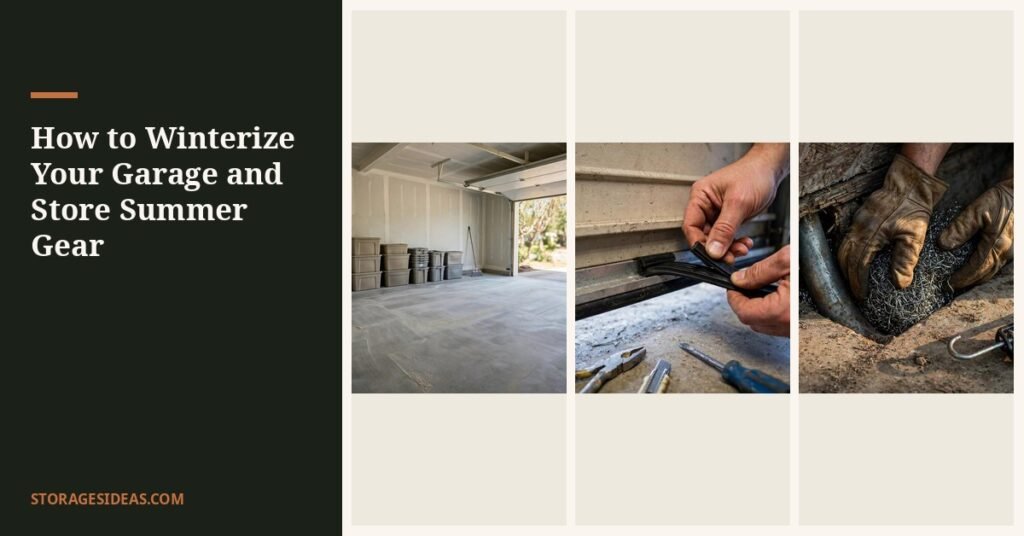
Do this before the first hard freeze, not after. The weekend you winterize your garage is the cheapest weekend of your year: an afternoon of work now prevents a dead battery, a gummed-up mower carburetor, a burst hose bib, and a bucket of ruined paint by January.
These 10 steps take 4 to 6 hours across two days, with tools you own plus about $40 in supplies.
The steps follow the order damage happens. Fuel goes stale first, so it gets treated first. Batteries die slowly all winter, so they come indoors now.
Paint and chemicals freeze once and they are gone. And the summer gear, bikes, kayaks, grill, cushions, goes up overhead so you can reach the shovel and salt every morning. Work in order and you end with a garage warmer, drier, and easier to walk through than it was in July.
Why You Winterize Your Garage Before the First Freeze
Winter picks off garage contents by their weakest property. Cold slows the chemical reaction inside a battery, a car battery holds roughly half its cranking power at 0°F versus 80°F.
Ethanol-blended gasoline absorbs moisture from garage air and starts going stale in about 30 days; by spring the separated water and varnish clog carburetor jets narrower than a human hair. Latex paint coagulates irreversibly at one hard freeze.
Water left in a garden hose or hose bib expands about 9% when it freezes, exactly enough to split the hose wall or crack the pipe inside the wall.
Tires parked for months develop flat spots; rubber dry-rots faster through freeze-thaw swings. Damp pool toys, cushions, and canvas grow mildew, and freeze-thaw cracks rigid plastics. And everything organic, birdseed, dog food, grass seed, becomes a mouse buffet when temperatures drop. Every one has a cheap prevention, below.
📌 Save-worthy: the winter numbers cheat sheet. Stabilizer: roughly 1 ounce per 2.5 gallons, check the bottle. Batteries want 40–60°F. Tires go up 5 psi over the door sticker. Stored gear clears the slab by 4 inches; overhead gear clears your head by 7 feet. Seal gaps bigger than 1/4 inch, that is all a mouse needs.
1. Empty, Sweep, and Inventory: Find the Damage Zones
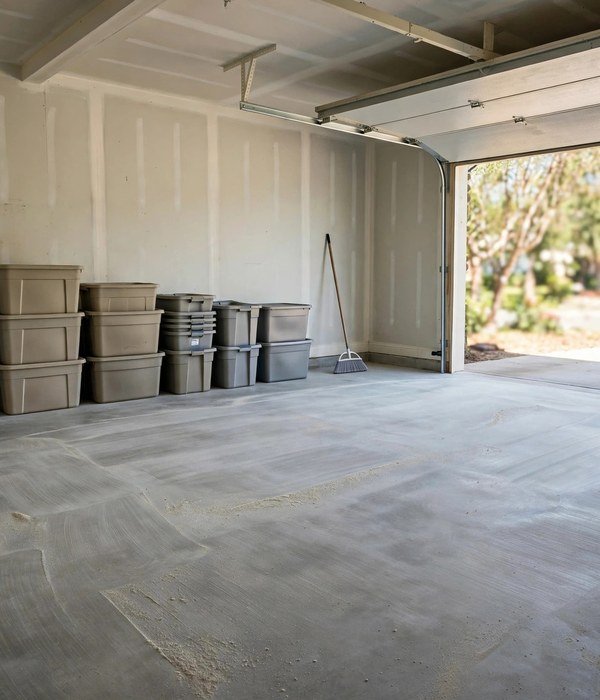
You cannot winterize what you cannot see. Pull everything out of the danger zones, the perimeter, corners, and first two feet along each wall, and sweep the full slab. This is reconnaissance, not tidiness.
A clear floor reveals the mouse holes (dark, round, thumb-width), the water entry paths (rust streaks under wall plates, white mineral stains on concrete), and the spots where the slab stays damp after rain. Each becomes a winter problem: holes become mouse doors, damp spots freeze into puddles, rust streaks mark snowmelt paths.
Sort into three piles as you go: winter-in (stays in the garage but moves, shovels, salt, ice melt), winter-out (comes indoors, paint, chemicals, batteries, cushions), and summer storage (goes overhead or gets packed, bikes, kayaks, pool toys, grill cover).
Sweep with a stiff push broom, then hit the slab edge and corners with a shop vacuum, the crumbs and grass seed along the wall are exactly what mice eat in December. Note anything damp, musty, or showing daylight, those notes become steps 5 and 10.
What you will need:
- Stiff push broom and a shop vacuum with a crevice tool
- Contractor bags for the broken, the rusted, and the truly done
- A notebook or phone to map damp spots and holes
- Work gloves
2. Stabilize Small-Engine Fuel: Beat the 30-Day Stale Rule
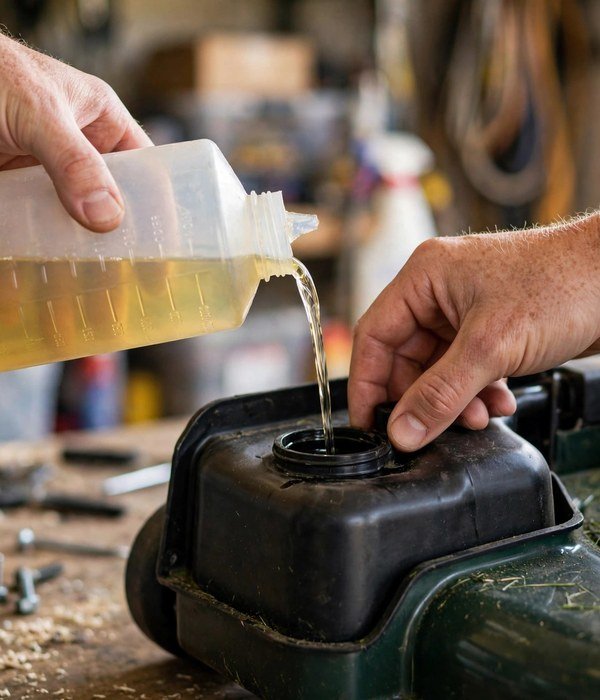
Modern gasoline is a 30-day product. Ethanol in pump gas absorbs moisture from garage air; within a month water separates, sinks, and corrodes fuel-system brass and steel, while the rest oxidizes into varnish that plugs carburetor jets narrower than a human hair.
That is why mowers and blowers that ran fine in October will not start in April, the fuel in the bowl turned to glue over winter. A small bottle of stabilizer prevents all of it, skip it and you are buying a carburetor rebuild or a new mower.
With the tank low but not dry, add stabilizer at the bottle’s ratio (about 1 ounce per 2.5 gallons), then run the engine a full 5 minutes so treated fuel reaches the lines, filter, and carburetor bowl.
That is the part people skip, and it is the whole point: stabilizer in the tank does nothing for untreated fuel sitting in the carb. Shut the fuel valve if there is one, then run the engine until it dies to empty the bowl.
Store clean, dry, and upright, never tip a mower on its side with fuel in it.
Watch out: never pour old gas on the ground or down a drain, take it to a household hazardous-waste drop-off in a labeled jug. Stabilizer preserves, not restores: varnish-smelling or dark gas gets drained.
3. Pull Batteries Indoors: Save Your Spring Starts

A battery is a chemical reaction in a box, and cold slows chemistry down. At 0°F a lead-acid battery delivers roughly half the cranking power it has at 80°F, and a half-discharged battery’s electrolyte is mostly water, which can freeze, expand, and crack the case. A fully charged battery’s electrolyte resists freezing well below 0°F.
So the rule is simple: batteries live indoors at 40–60°F, fully charged, all winter.
Pull every idle battery: mower, motorcycle, boat, the spare on the shelf, the opener’s removable backup. Clean the terminals first, baking soda and water on a stiff brush, then dry, because corrosion drains slowly all winter. On flooded batteries with removable caps, top up with distilled water only, never tap (minerals plate the lead).
Disconnect negative first, reconnect it last, so your wrench cannot short against the frame. Store upright on a shelf and connect a smart float charger, the kind that charges to full and then holds, not an old constant trickle charger that overcharges over months. (The “no concrete” rule is a myth with modern cases, cold is the enemy.)
What you will need:
- Smart float/maintainer charger (1–2 amp; match the voltage, 12V vs 6V)
- Baking soda, water, stiff brush, and rags for terminal cleaning
- Distilled water for flooded batteries, not tap, not mineral
- A shelf spot indoors at 40–60°F, basement or heated mudroom, not the garage corner
4. Store Vehicles and Tires Right: No Flat Spots, No Condensation
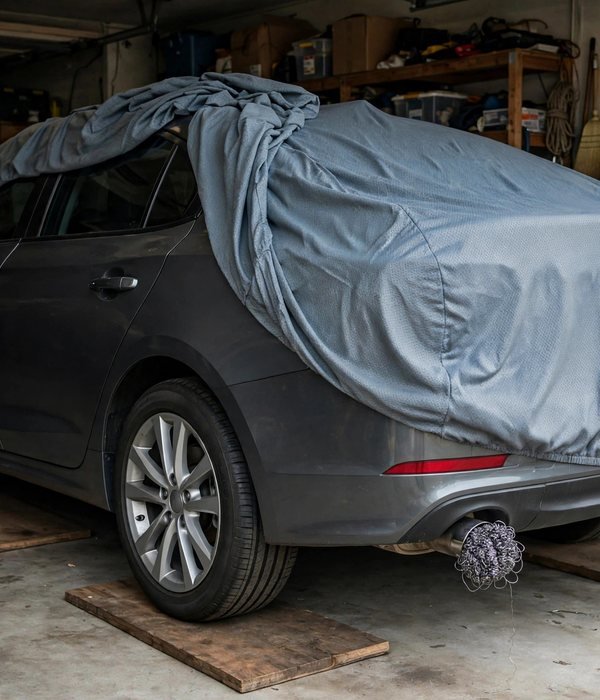
A vehicle that sits all winter faces two slow enemies: flat-spotted tires and condensation. Tires lose roughly 1 psi per 10°F drop, so October pressure is underinflated by January, and an underinflated tire parked on cold concrete for four months takes a flat spot where the sidewall carried the load.
Condensation forms inside a half-empty fuel tank as temperatures swing. The fix is boring and it works: pressure, barriers, and a full tank.
Inflate every tire 5 psi over the door-sticker pressure before parking; bleed it back to spec in spring. Park on a moisture barrier, plywood sheets, thick cardboard, or foam mats under each tire, breaking the concrete contact that wicks moisture into rubber.
Fill the fuel tank nearly full and add stabilizer; a full tank leaves little air space for condensation. Release the parking brake and chock the wheels instead.
Stuff the tailpipe and air intake with steel wool in a plastic bag, mice love exhaust pipes as winter condos, and tie a bright ribbon on the steering wheel so you remember to remove them. Use a breathable car cover, a plastic tarp traps moisture underneath.
Watch out: skip the “idle it 10 minutes a month” trick, idling does not recharge the battery, does not fully circulate oil, and pumps moisture into the exhaust. Either drive it properly or let it sleep with the battery indoors (step 3) and the tires aired up.
5. Weatherstrip the Door: How to Winterize a Garage Against the Cold
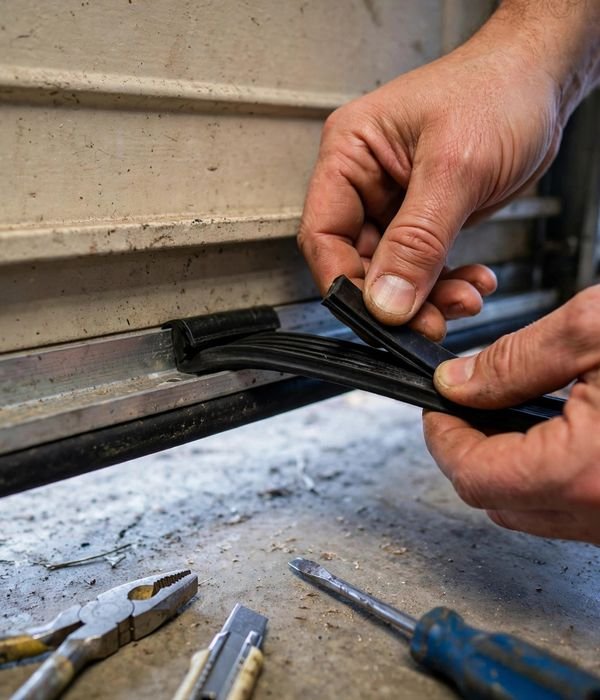
An unsealed garage door is the biggest thermal hole in the house. A 16-foot door with worn seals leaks heat around all four edges, and that cold floor is exactly what freezes your paint, kills your batteries, and invites pipes to burst.
The test takes ten seconds: on a dark night, stand inside with the lights on and the door closed, and look for seams of light around the edges. Every line of light is a draft, and a mouse highway.
Start at the bottom: the rubber seal goes brittle and cracks; slide the old one out, feed the new one in, a step stool, about 20 minutes. Then the sides and top: screw vinyl flap or brush seals to the frame, pressing against the door face. Replace anything cracked or flattened.
Pack gaps under the door track with foam backer rod and caulk, or glue a threshold seal to the floor. Caulk or foam the other penetrations too: opener rail, side-door frame, hose bibs, dryer vents. But leave combustion vents alone: furnace or water heater intake, exhaust, and louvers stay fully open, sealing them creates carbon-monoxide risk.
What you will need:
- Replacement bottom seal (measure the width, a 16-foot door needs the full length)
- Side/top vinyl or brush seal kit with mounting screws
- Caulk and foam backer rod for slab-edge and penetration gaps
- Renters: adhesive-backed foam seals need no screws, and a floor threshold seal can be temporary
6. Move Chemicals and Paint Above Freezing: One Freeze Ruins Latex
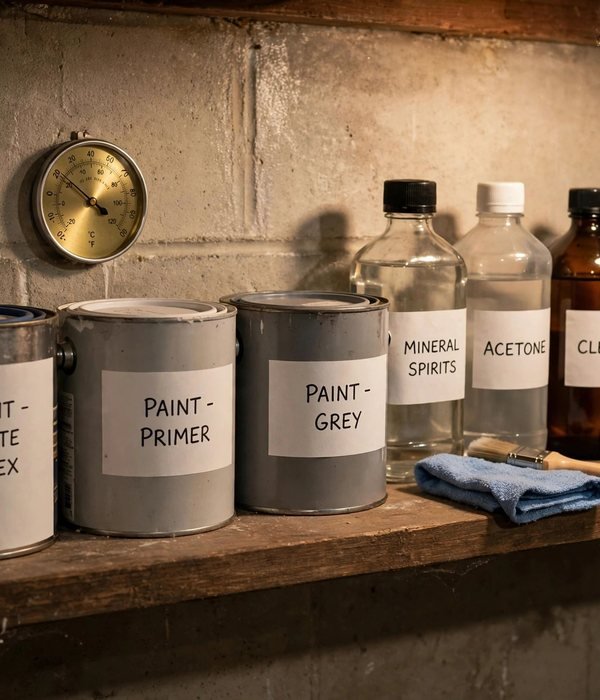
Latex paint has a one-strike rule: one hard freeze and it is done. Ice crystals break the emulsion, the paint curdles, separates, and no stirring brings it back. Come spring, that “perfectly good” gallon pours like cottage cheese. Aerosols lose pressure in the cold, and many garage chemicals degrade or become hazards through freeze-thaw.
The cutoff is 32°F; the safe target is 50–80°F: a basement shelf, a heated utility closet, an interior mudroom.
Move every can of latex, every aerosol, every chemical labeled “store above freezing.” While you are at it, do the two plumbing jobs with the best minutes-to-dollars ratio: disconnect every garden hose, drain it by coiling downhill, and store it indoors or off the slab; then shut the interior valve to each exterior hose bib, open the outside bib to drain the line, and leave it open all winter so remaining water has room to expand.
Bagged chemicals go into a sealed bin so a tipped bag does not become step 10’s mouse buffet. Keep everything chemical away from the water heater, furnace, or any ignition source.
Watch out: never store propane tanks in the garage, full or empty, they live outdoors, upright, ventilated, period. Same for gasoline cans: an attached-garage gas can beside a furnace is a fire-code problem. Small fuel cans in a detached garage sit in a flammables cabinet away from ignition sources, never on the floor by the door.
7. Hang Bikes, Kayaks, and Paddleboards Overhead: Reclaim the Floor
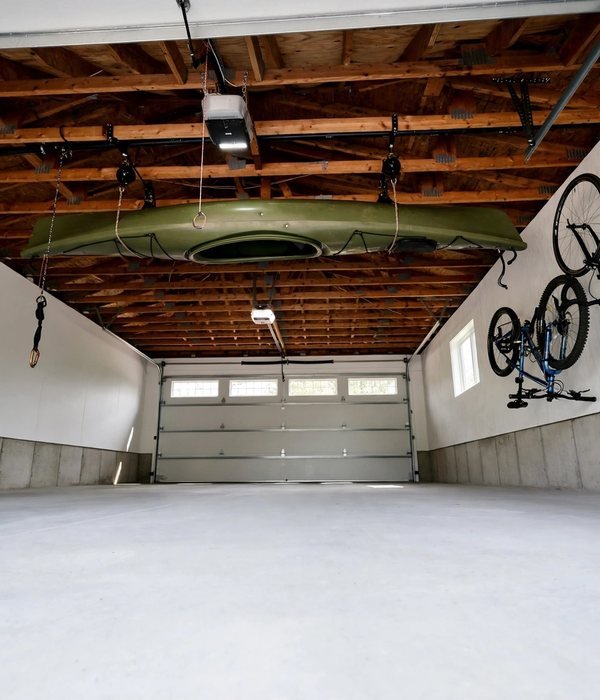
Summer’s biggest toys are winter’s biggest floor hogs. Two bikes, a kayak, and a paddleboard eat roughly 30 square feet of floor, exactly what step 9’s winter zone needs. Overhead is where they belong: free space, off the damp slab, out of your daily path.
Bikes go on wall hooks rated 40–50 pounds each, screwed into studs with lag bolts, not drywall anchors, which pull out under a 30-pound e-bike the first time someone bumps it. Hang by the front wheel or a padded hook under the top tube, alternating wheel-up and wheel-down so handlebars nest.
Kayaks and paddleboards belong on the ceiling: a 2:1 pulley hoist cuts a 50-pound kayak to about 25 pounds of pull, and wide webbing straps (not rope, which dents hulls) sit under the bulkheads, at the one-third and two-thirds points.
Keep 7 feet of clearance under everything, you duck on every trip otherwise, and the garage door needs its full swing arc. In an 8-foot garage gear rides tight to the ceiling, measure before buying the hoist.
What you will need:
- Bike hooks rated 40–50 lb each, with 3/8-inch lag bolts into studs
- Ceiling hoist kit with 2:1 pulleys and wide straps for the kayak or paddleboard
- Stud finder and tape measure, the only two tools that matter here
- Renters: skip the ceiling hoist; a freestanding bike rack plus vertical wall-leaning kayak stands reclaim the same floor with no holes
8. Clean, Fold, and Elevate Summer Gear: The Grill, the Cushions, the Toys
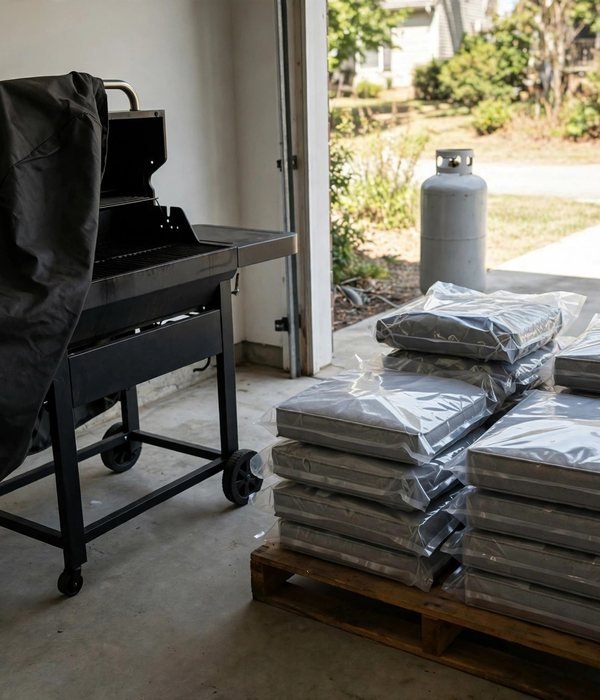
Summer gear needs to move clean, dry, and off the concrete. Dirt, grease, and moisture are what destroy it; cold just finishes the job. Start with the grill.
Degrease grates and drip tray (putty knife and hot soapy water; wire brush for the carbon), dry completely, then cover. Disconnect the propane tank, outdoors, upright, ventilated, valve closed, never in the garage.
Scrub patio cushions with mild soap, rinse, and sun-dry fully; even slightly damp cushions mildew in storage. Then vacuum-bag them (about a quarter of their size) or use a deck box with a gasket lid.
Deflate pool toys, dry them, dust with talcum or cornstarch so vinyl does not stick to itself, and box them, not bagged, because sharp folds crack in the cold. Then the rule covering everything: nothing sits directly on the slab.
Stack every box, bin, and bag at least 4 inches off the concrete on pallets, 2×4 runners, or shelving, concrete wicks moisture upward all winter, and the bottom box is always the one that molds.
Watch out: the propane rule is absolute: no propane tank, full, empty, 20-pound, or 1-pound canister, is ever stored indoors or in an attached garage. Outdoors, upright, ventilated, valve closed.
9. Build the Winter Access Zone: Morning Gear, One Grab
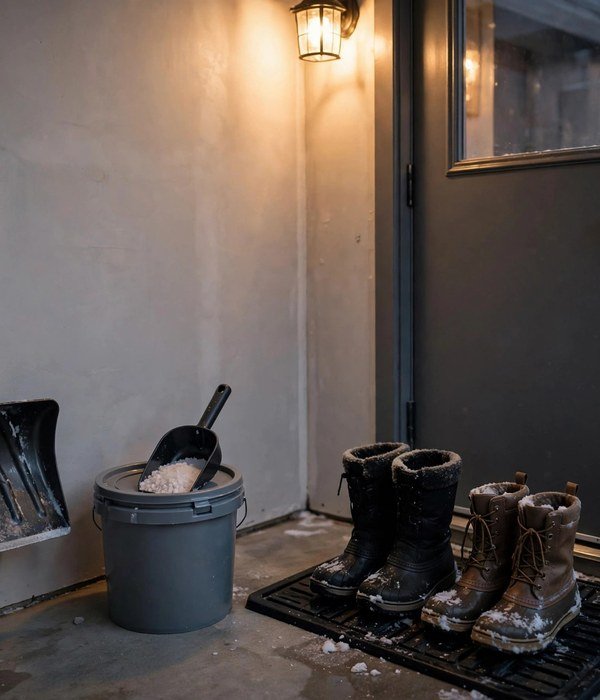
This step decides whether your winter mornings work: a landing zone by the door for everything the cold months demand daily. Snow shovel, ice melt or rock salt, sand for traction, scrapers, spare gloves, all in one 3-by-4-foot zone right inside the service door or garage-to-house door. One zone, one grab, back inside.
In January at 6:40 a.m., with ice on the windshield, you will not dig past summer gear to find the scraper. If the winter tools are buried, you skip salting the walk and drive with a porthole scraped in the frost. So the zone goes by the pedestrian door you actually use, and stays clear all season.
A wall-mounted shovel hook keeps the blade off the floor, a lidded 5-gallon bucket holds the salt/sand mix, and a raised-edge boot tray catches the melt. Keep ice melt sealed inside the bucket: loose salt absorbs garage moisture and bricks by February.
Sand never bricks, which is why a half-and-half mix gives traction even when it is too cold for salt to melt.
What you will need:
- Wall hook or bracket for the shovel (blade up, floor dry)
- 5-gallon lidded bucket for the salt/sand mix, plus a scoop
- Boot tray with a raised lip, sized for two pairs
- Windshield scrapers, one per car
10. Pest-Proof and Lock: Mice Squeeze Through a Quarter Inch
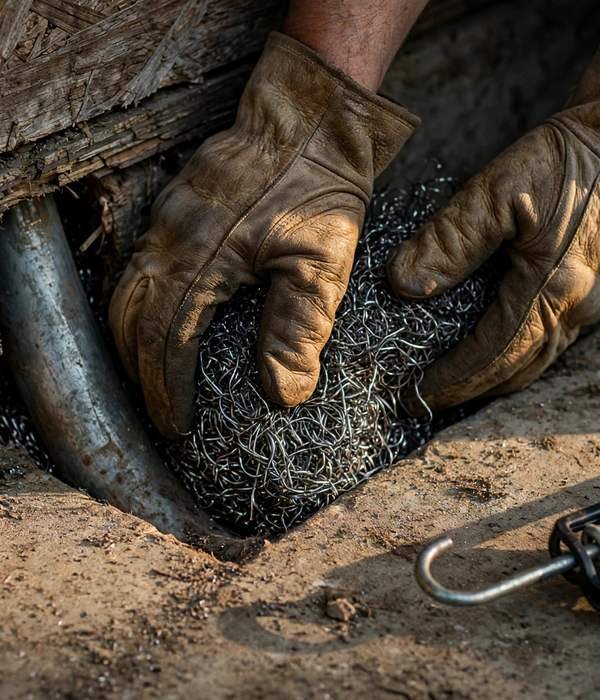
A mouse squeezes through a hole the diameter of a pencil, about 1/4 inch, and your garage, warm relative to a January night and full of nesting material, is the best real estate on the block. Step 1’s sweep gave you the map; now close the doors.
Pack coarse steel wool tightly into every hole bigger than 1/4 inch, pipes, conduit, framing-to-slab corners, the daylight-test gaps, then seal over it with caulk or foam. Mice chew foam and ignore caulk, but they cannot chew steel wool. The bottom corners of the garage door and the side-door threshold are the highest-traffic entries; check them twice.
Birdseed, grass seed, dog food, and dry pet food go into sealed metal or thick plastic containers, mice chew through paper and thin plastic fast. Cardboard boxes are nesting material, so long-term storage belongs in hard plastic bins.
Finally, the lock: deadbolt on the service door, 3-inch screws in the strike plate (standard half-inch screws pull out with one kick), and the opener unplugged or on vacation mode if you travel. Recheck the weatherstrip, a door that does not seal is open to everything small.
Watch out: skip the poison pellets, a poisoned mouse dies inside your wall and the smell lasts weeks, and pellets endanger pets and wildlife. Snap traps along the walls (mice run the perimeter, never the middle) plus sealed entries solve it at the source.
Conclusion
Ten steps, two weekends, one garage that survives winter. Tape the Why-section cheat sheet, fuel ratio, battery temperature, tire pressure, the 4-inch slab rule, the 1/4-inch mouse rule, inside a cabinet door.
🔧 Do this first: stabilize your small-engine fuel. Five minutes, the highest cost-of-skipping step here: one missed bottle versus a varnished carburetor and a mower that will not start in April. The 30-day stale clock is already running on whatever is in the tank.
Batteries are the close second, pull them indoors the same day, because every cold week is cranking power you do not get back.
- the full garage organization system
- the weekend garage overhaul plan
- overhead ideas for bulky gear
- post #2486, home garage storage ideas
Frequently Asked Questions (FAQ)
How late is too late to winterize your garage?
The deadline is the first hard freeze, sustained temperatures below 28°F, when hoses split, paint curdles, and batteries decline. In most of the northern US, finish by mid-November. But fuel runs on its own 30-day clock from your last mow, not the weather.
If a freeze sneaks up, do the one-hour triage: paint and chemicals indoors, hoses drained, stabilizer in the mower.
Can I store a propane tank in the garage over winter?
No, never, in any season. Propane tanks (full or empty, 20-pound or 1-pound) are stored outdoors, upright, ventilated, valve closed. Garages concentrate leaked propane near the floor, and the furnace, water heater, or a light switch is an ignition source.
In winter the rule matters more: cold contracts valves and seals.
Should I heat my garage to protect what is stored?
Usually not worth it. Stabilized fuel does not care about temperature, batteries belong indoors anyway, and paint needs 50°F-plus, heating the whole garage for a few cans is expensive.
The exception is freezable plumbing: a utility sink or hose bib on an exterior wall justifies a small thermostatic heater set near 40°F by the pipes, far cheaper than a burst pipe. Never block furnace or water heater vents to “keep the heat in.”
Do I need to drain the gas or just add stabilizer?
For one winter, stabilizer is the right answer. Draining sounds thorough but leaves the worst fuel behind: the carburetor bowl and lines hold small amounts that never drain fully, and that is exactly the fuel that varnishes first. Stabilizer, run through the system for 5 minutes, protects every part the fuel touches.
Never store a full tank of untreated gas, maximum fuel to go stale, maximum varnish in spring.
Will mice really get in through such tiny gaps?
Yes, a mouse collapses its ribcage through a 1/4-inch hole, roughly a pencil’s diameter, and rats manage 1/2 inch. The gaps that matter are the ones you stop noticing: where the door track meets the slab, where the hose bib pipe enters, the chewed corner of the old bottom seal.
That is why step 10 pairs steel wool (mice cannot chew it) with caulk instead of foam alone. Droppings in November mean the entries were open all summer.
How do I store a riding mower for the whole winter?
Clean the deck (dried grass holds moisture against the metal), stabilize the fuel and run it 5 minutes, then shut the fuel valve; pull the battery indoors onto a float charger; check tire pressure and park on plywood or mats; grease the fittings and spray the deck underside with silicone to slow rust; cover with a breathable cover, not a plastic tarp.
In spring, reconnect the battery (positive first), check the oil, and it will start like October never ended.