It starts with the smell, that warm, sour wave that drifts through the kitchen window every August afternoon. Then the raccoons stage their nightly raid, and you wake up to a crime scene of torn bags across the driveway.
And just when you think it can’t get worse, the HOA letter arrives: your cans are visible from the street, and you have 14 days to fix it. Three problems, one humble object, and most people buy the cheapest can at the store and hope for the best.
This guide is the trash-can pillar for the entire outdoor waste topic on this site, the one article that covers the whole system instead of one tip at a time.
Below are 25 ideas across four groups: choosing the right can (size math, materials, lids, wheels, footprint, bags), placing and storing it (setbacks, enclosures, pads, wind, slopes), cleaning and odor control (wash cadence, the bleach protocol, deodorizing), and animals, pests and rules (raccoons, bears, maggots, wasps, HOAs, collection timing).
Every point carries real specs, gallons, dimensions, load ratings, ratios, so you can measure, buy, and set up once, correctly.
Why This Trash-Can Pillar Exists: Four Problems, One Can
An outdoor trash can fails in four distinct ways, and each one needs a different fix. Problem one is capacity: the can is too small for the household, so bags pile beside it and the lid never closes, which is an open invitation to every animal in the neighborhood. Problem two is placement: it sits where it’s convenient for you instead of where the hauler, the code, and the wind need it to be.
Problem three is hygiene: outdoor cans get washed roughly never, so bacteria and odor build until the can itself becomes the problem. Problem four is wildlife: a regular can is a vending machine for raccoons, and in bear country it’s a genuine safety issue.
The mechanism behind all four is simple: an outdoor can is a food-storage container left in the weather. Everything that matters, size, material, lid design, placement, cleaning schedule, follows from treating it that way instead of treating it like a piece of lawn furniture.
🗑️ Save-worthy: the size-math cheat sheet. Plan on 32 gallons per person per week as a baseline. One adult: a 32-gallon can. Two to three people: 64 gallons.
Four or more, or biweekly pickup: 96 gallons. In kitchen-bag terms: a 32-gal can swallows about 2 tall kitchen bags, a 64-gal about 4, a 96-gal about 7. When in doubt, check your hauler’s accepted sizes first, some won’t service cans over 96 gallons or under their cart program.
Choosing the Right Can
The can itself is the foundation. Get the size, material, lid, wheels, shape, and bag fit right, and every later step, placement, cleaning, pest control, gets easier.
1. Size Math: How Many Gallons You Actually Need
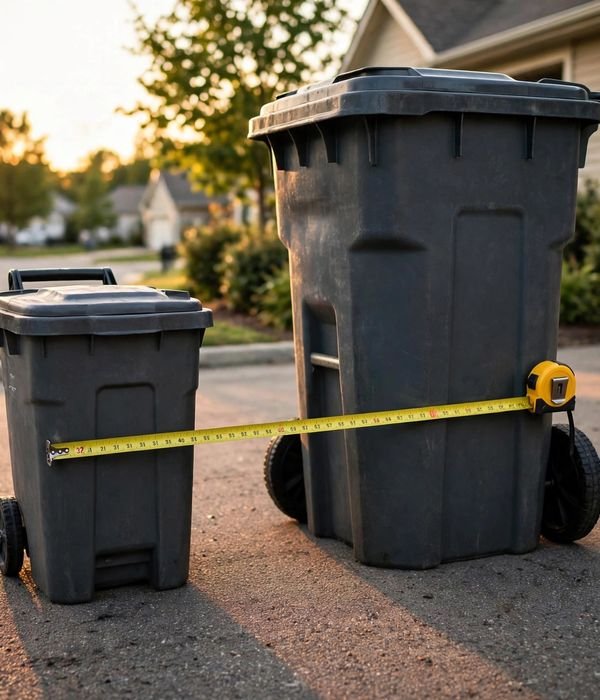
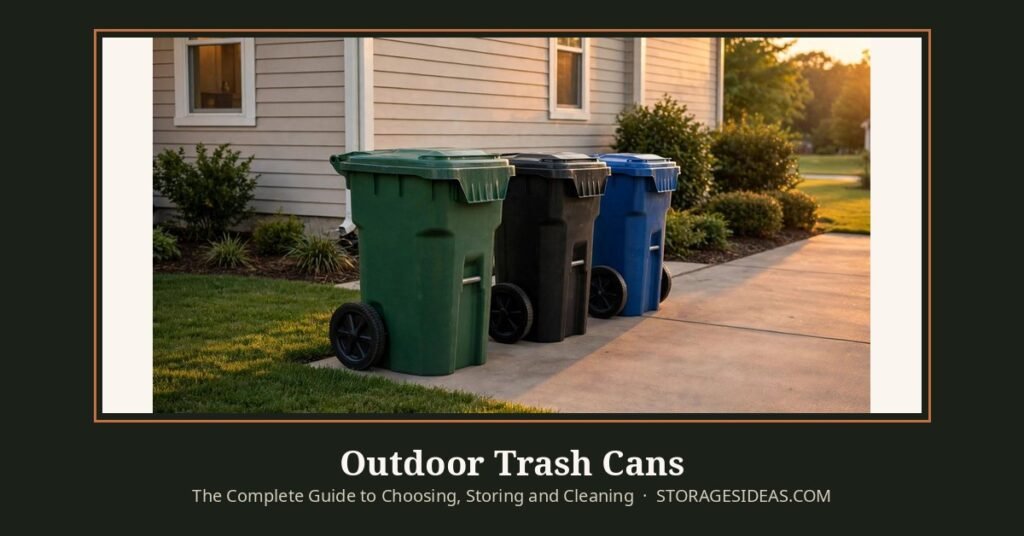
The standard curbside sizes are 32, 64, and 96 gallons, haulers design trucks and lift arms around exactly these three. The baseline is about 32 gallons per person per week, roughly two and a half 13-gallon kitchen bags plus loose boxes and packaging.
One adult fits a 32-gallon cart (roughly 24 × 19 × 39 inches, load-rated around 112 lbs). Two to three people need 64 gallons (about 30 × 27 × 40 inches, rated around 224 lbs). Four or more, or biweekly pickup, should go straight to 96 gallons (about 34.5 × 29.25 × 46.75 inches, rated around 335 lbs). post #372
Quick sizing rules:
- Count your kitchen bags per week, then add 30 percent for loose trash, bags undercount reality
- Biweekly pickup doubles the requirement; one week’s math is dangerously optimistic
- Check your hauler’s accepted sizes and weight limits before buying, oversized cans get skipped
- Renters in cart-program towns: the hauler often provides the can, your job is just picking the size tier
Tips for best results: buy one size up if you’re between sizes. A half-empty 64-gallon can closes its lid every week; an overstuffed 32-gallon can never does, and an open lid is where raccoons, rain, and smell all get in.
2. HDPE vs Galvanized vs Stainless: Picking the Material
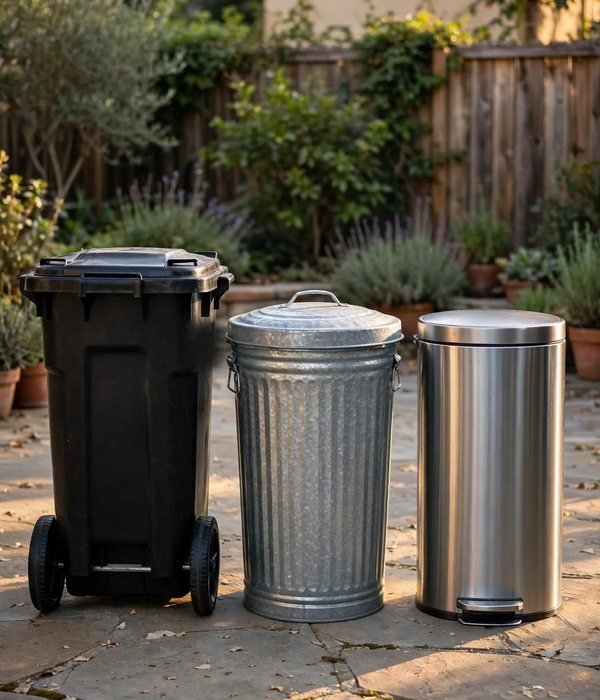
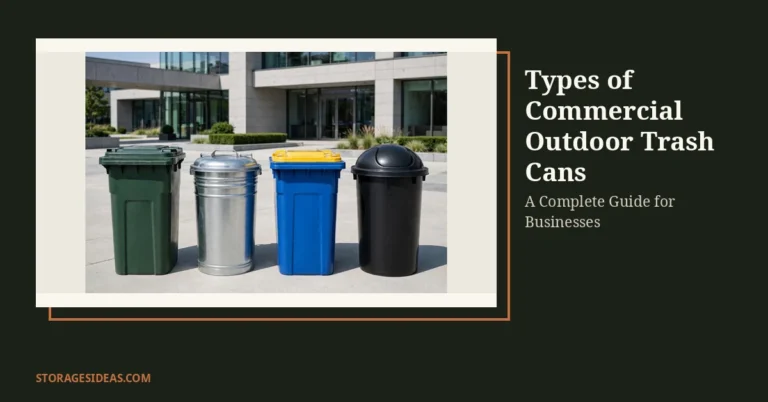
Three materials dominate outdoor cans, and each fails differently. HDPE plastic (the standard wheeled cart) is light, rust-proof, and cheap, a 64-gallon HDPE cart weighs about 25 pounds empty.
But UV degrades plastic: after 5 to 10 years of direct sun, HDPE gets brittle and cracks at hinges and wheel axles. Galvanized steel is the rodent-proof tank, rats and squirrels can’t chew through it, but a 32-gallon can weighs 40 to 60 pounds, and every scratch in the zinc coating becomes a rust spot. Stainless steel is the premium option: rust-resistant and handsome beside a patio, but three to five times the HDPE price for a can never designed for curbside service. post #369
Material picks by situation:
- Standard curbside service: HDPE, it’s what the trucks are built for
- Rodent or squirrel problems: galvanized, nothing chews through steel
- Patio-visible storage near the house: stainless, looks intentional, not industrial
- Bear country: skip materials debates entirely and go IGBC-certified (point 20)
Watch out: don’t put a galvanized can where sprinklers hit it daily, constant wetting at scratched spots rusts it from the outside in within two seasons.
3. Lid Locks That Actually Hold: Snap, Gravity and Bear-Certified
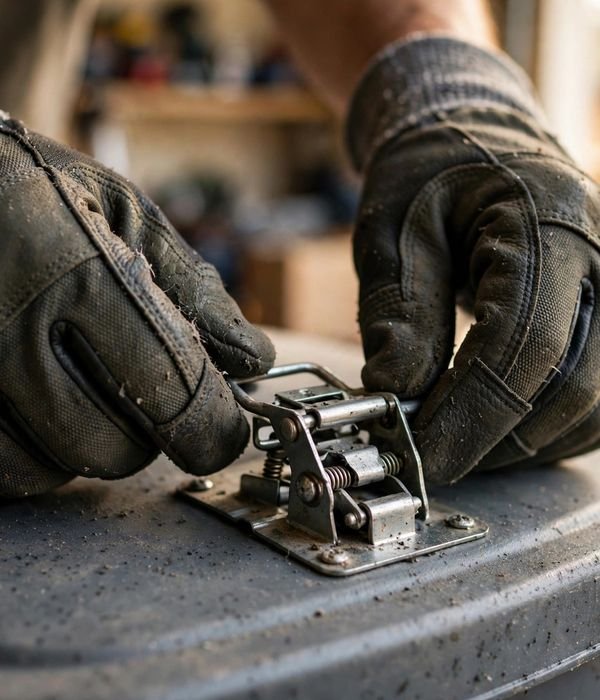
The lid is the can’s security system, and most lids were designed for rain, not animals. Snap-lock lids click onto the rim and defeat tipping and light wind. Gravity-lock lids stay shut when the can tips and open automatically when the truck’s lift arm inverts the can, the mechanism that beats raccoons, since it resists sideways pawing but needs no dexterity to defeat. IGBC bear-resistant latches (certified by the Interagency Grizzly Bear Committee after a product survives 60 minutes of captive grizzly bears chewing, clawing, and rolling it) use metal-reinforced rims, steel U-bolt hinges, and human-dexterity latches, overkill for suburbs, mandatory in bear country.
Lid rules:
- If raccoons have ever opened your can: minimum upgrade is a gravity-lock lid
- Gravity locks work with automated trucks; bungees and padlocks do not (remove them before collection)
- Bear-certified cans cost more but last longer, the double-walled rotational-molded lids are simply tougher
- Attached hinged lids can’t blow away or get lost on hauler day, worth prioritizing
Tips for best results: test the lid one-handed with gloves on. If you can’t open it with winter gloves, you’ll hate it for four months a year, and a lid you hate gets left unlatched.
4. Wheels and Handles: Because Hauler Day Is a Haul
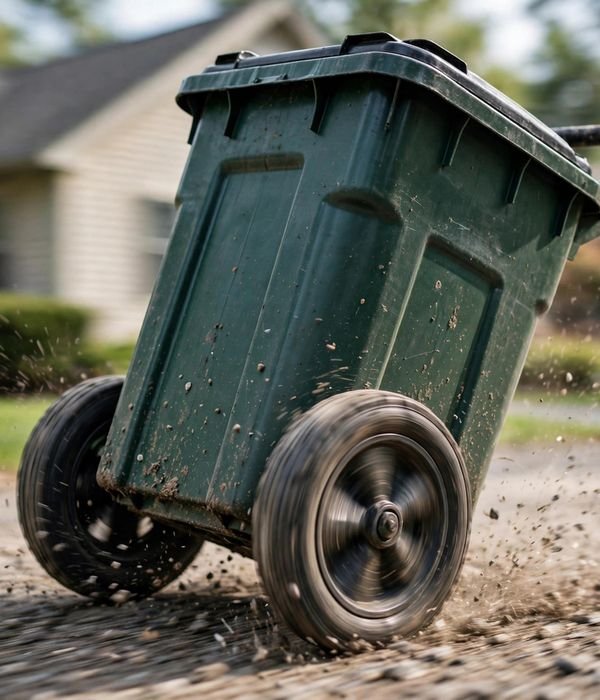
A full 96-gallon cart weighs 200 to 335 pounds, and you move it every single week. Look for 10-inch rubber wheels, which roll over gravel, grass, and cracked driveways where small hard-plastic wheels dig in and stop. The tow-hitch style handle (a full-width bar gripped with both hands) beats molded side grips for control on slopes.
Weight matters twice: the can’s empty weight (HDPE carts run 20 to 35 pounds) determines how it handles on the way out, and the load rating caps how much you can pack in.
Wheel and handle checklist:
- 10-inch rubber or pneumatic wheels for gravel, lawn, or long driveways
- Full-width tow-handle for two-handed control, especially on slopes
- Check the axle: steel axles outlast plastic ones by years
- Two-wheel carts tip and roll; four-wheel dollies are for flat garage floors only
Watch out: never drag a loaded cart by its lid, you’ll crack the hinge, and a cracked hinge is a can that never seals again. Tilt, roll, and push from the handle.
5. Rectangular vs Round Footprint: The Footprint Decision
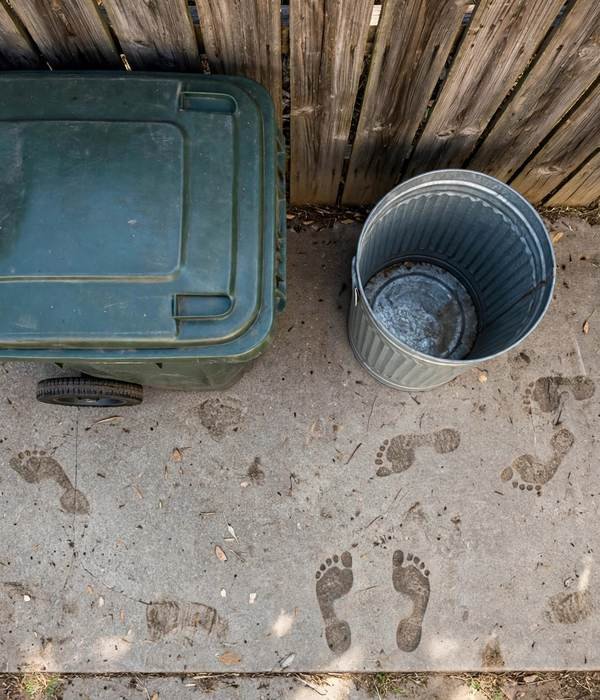
Shape determines where the can can live. Rectangular carts (the standard wheeled curbside shape) sit flush against fences, walls, and enclosure sides, wasting zero inches, two 96-gallon carts side by side need about 70 inches of wall, a clean, plannable number.
They also lock into enclosures and corrals without rolling. Round cans (the classic galvanized or heavy-duty plastic cylinder) shed water and snow off their curved sides and have no corners for grime to pack into, which makes them easier to hose out.
But a round 32-gallon can’s footprint is a 22-inch circle that leaves dead triangles against every straight wall, and round cans roll, which is charming until one rolls down the driveway.
Shape rules:
- Storing against a fence, wall, or in an enclosure: rectangular, always
- Galvanized rodent-proof storage in an open yard: round sheds weather better
- Multiple cans: rectangular lines up; round multiplies wasted space
- Sloped ground: rectangular sits still; round needs chocking
Tips for best results: match the shape to the hauler. Automated trucks are built around rectangular carts with a front lift bar, a round can on an automated route gets skipped or hand-emptied, which means it gets skipped more often.
6. Bag Compatibility: Match the Bag to the Can
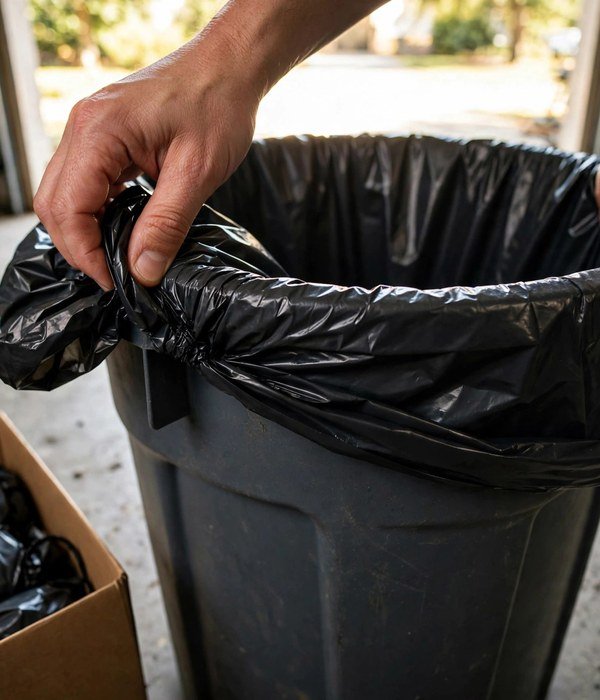
Bags that don’t fit tear, slip inside, or leave the rim exposed, and an exposed rim is where smell escapes and flies breed.
Standard pairings: a 32-gallon can takes 33-gallon bags (roughly 33 × 39 inches), the extra height folds over the rim and ties off. 44-to-55-gallon cans pair with 55-gallon bags (about 38 × 58 inches). 64- and 96-gallon roll-out carts need contractor-style liners in the 50 × 60 to 63 × 50 inch range.
Drawstring bags stay on the rim better than twist-tie in wind; 1.2-mil thickness or higher resists sharp box corners.
Bag-fit rules:
- Measure the can’s top opening, not the labeled gallons, gallons lie, inches don’t
- The bag should overhang the rim by at least 4 inches to fold over securely
- For 96-gallon carts, use two bags: one per half, so a tear doesn’t doom the whole load
- Scented bags genuinely help in summer; the fragrance masks odor between wash days
Watch out: haulers in cart programs often don’t want bagged trash in the cart, they want loose waste that dumps cleanly. Check the program rules before lining a hauler-issued cart.
Placing & Storing It
Where the can lives determines how long it lasts, how much it smells, whether the HOA notices, and whether wind or animals turn it into a neighborhood event.
7. Setback Rules: How Far From the Line It Has to Sit
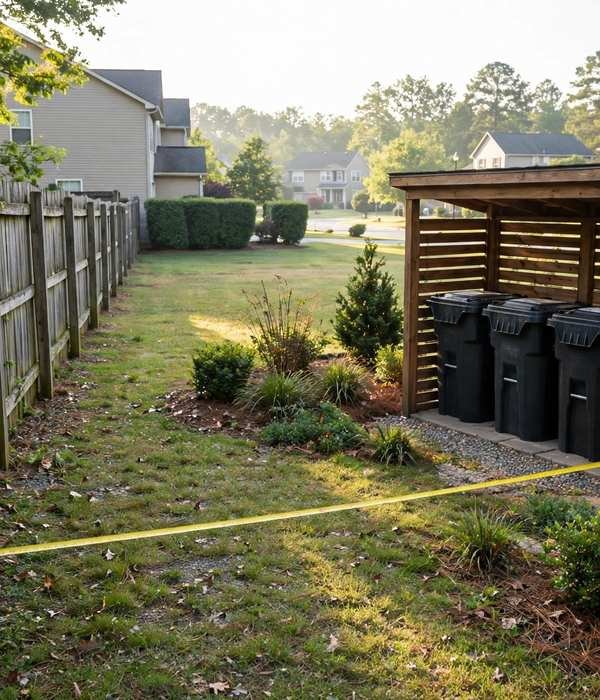
Most municipalities require cans to sit 3 to 5 feet inside your property line and out of sight from the street except on collection day, and HOAs are often stricter. The reason isn’t aesthetics alone: cans on the property line become the neighbor’s smell problem.
Pick the storage spot first (side yard, garage bay, enclosure), then verify it against three documents: your city’s solid-waste ordinance, your HOA’s covenants, and your hauler’s collection-day placement rules (usually: at the curb, handles facing the house, 3 feet clear on all sides).
Mini-steps:
- Read your city’s solid-waste ordinance, search “[your city] trash can placement ordinance” for the setback number.
- Read the HOA covenants for screening requirements, wood slat, vinyl, or full enclosure.
- Pick a storage spot that satisfies both, then confirm the hauler’s curb-placement rules separately.
- Photograph the setup once, if a neighbor complains later, you have dated proof of compliance.
Watch out: “out of sight from the street” usually means from a standing adult’s eye level at the curb, a can behind a 3-foot hedge still counts as visible.
8. Enclosure Sizing: The 4×6-Foot Rule for Two Cans
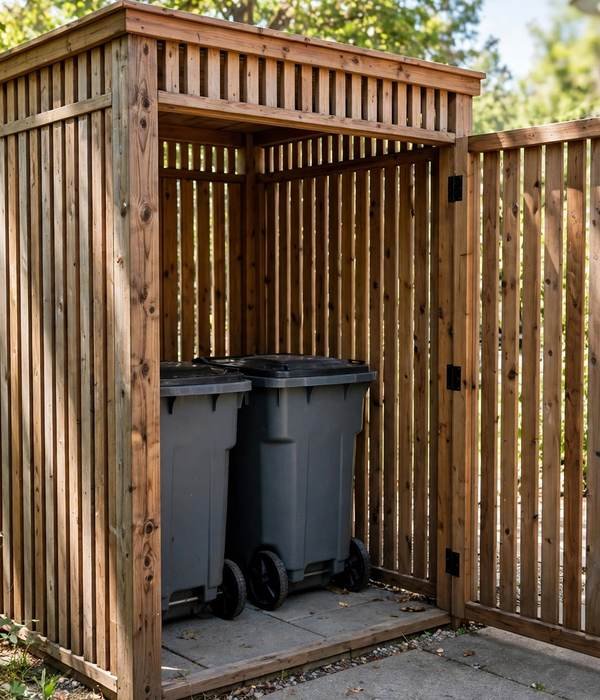
An enclosure, the fence corral or shed that hides your cans, is the best HOA-peace investment you can make, but only if sized right. The rule: 4 feet deep by 6 feet wide for two 96-gallon carts, each cart’s ~35-inch width plus swing room to pull one out without dragging the other.
Build 4.5 to 5 feet tall so lids open fully inside, and leave 2-to-3-inch ventilation gaps between the top slats, a sealed enclosure becomes a smell oven in July. A hinged front gate (not a lift-off panel) lets you wheel cans out one-handed on collection morning.
Mini-steps:
- Measure your actual carts, two 96-gallon carts need 70 inches of width minimum.
- Frame 4 × 6 feet, 4.5–5 feet tall, with a hinged front gate wide enough for the widest cart plus 4 inches.
- Leave 2–3-inch gaps at the top of each wall for airflow.
- Set the enclosure on the leveling pad from point 9, not directly on soil.
Watch out: check HOA rules before building, many specify materials (wood slat vs vinyl), maximum height, and whether the enclosure needs a roof or gate latch. Build first and ask later is a removal order waiting to happen.
9. Leveling Pads: 2–4 Inches of Gravel Changes Everything
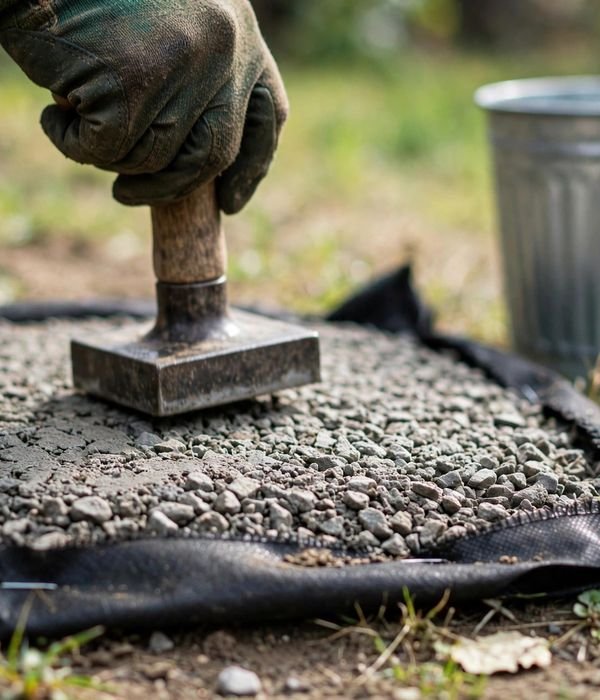
Cans sink. A 300-pound loaded cart on soft soil tilts within a season, and a tilted can has a lid that won’t seal, which is the entire ballgame for smell and animals. The fix: 2 to 4 inches of compacted gravel or concrete pavers under the storage spot.
Gravel drains (no puddle, no mosquitoes); pavers give wheels a smooth roll path. Size the pad 6 inches wider than the cart row on every side so wheels never catch an edge, and tamp it level, eyeballing level over 6 feet is how you get the slow tilt back.
Mini-steps:
- Mark the pad area: enclosure footprint plus 6 inches on every side.
- Dig down 4 inches, lay landscape fabric (stops weeds and soil mixing into the gravel).
- Fill with 2–4 inches of 3/4-inch crushed gravel; tamp in two lifts for a solid base.
- Set pavers or the enclosure frame on top; check level front-to-back and side-to-side.
Watch out: don’t pour a concrete slab for cans unless you’re sure about the spot, concrete is permanent, and moving a can station two feet over because of a smell complaint means jackhammering.
10. Side Yard vs Garage: The Heat-Smell Tradeoff
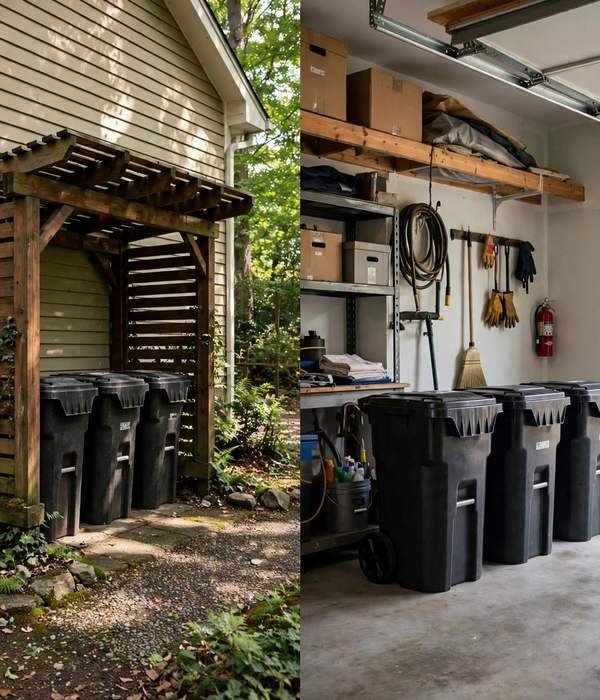
Where you store the can between collections is a three-way tradeoff between heat, smell, and convenience. The garage is convenient and HOA-invisible, but it’s the warmest spot, and warmth is what turns a can into a smell bomb and a maggot incubator (see point 21).
The side yard is cooler and ventilated, but the cans are visible and the walk is longer on collection day. The shaded side of the house splits the difference: cooler than the garage, hidden from the street, one short roll to the curb.
Never store bagged trash against a wood fence line long-term, the trapped moisture rots fence pickets from the bottom up, and you’ll replace a $2,000 fence to save a 20-foot walk.
Storage-spot ranking:
- Best: shaded side yard, on a pad, in an enclosure, cool, hidden, quick to the curb
- Good: garage, but only if you commit to the wash cadence in point 13
- Avoid: against the wood fence (rot), in full sun (smell), at the curb permanently (fines)
Tips for best results: whichever spot you pick, keep the can’s lid facing away from the prevailing wind, wind over an imperfect seal pumps smell downwind like a bellows.
11. Wind Strapping: Bungee to a Stake, Not Just the Lid
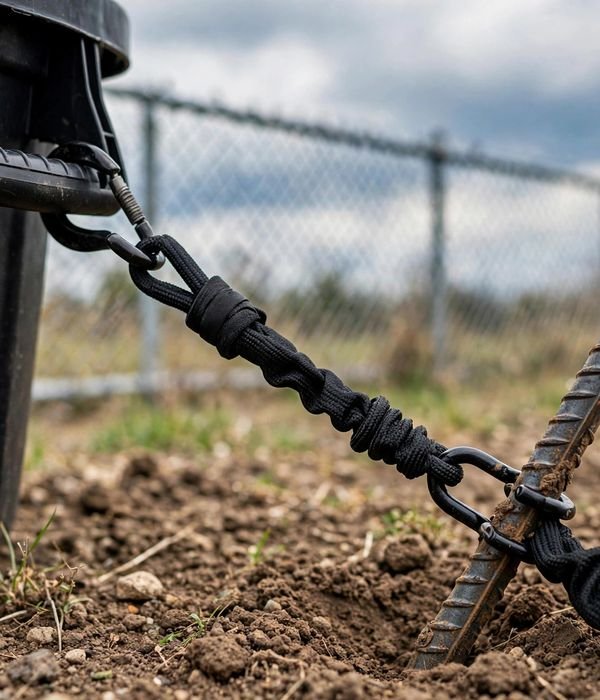
A 25-pound empty HDPE cart is a sail. Wind tips it, the lid pops, and your trash decorates three yards, and in many towns, you’re liable for cleanup.
Bungeeing the lid helps, but the real fix is strapping the whole can to something immovable: a heavy-duty bungee through the can’s handle to a ground anchor, a 24-inch rebar stake driven at an angle, a fence post, or an eye-bolt in the enclosure frame.
On collection morning, unhook the strap (automated trucks can’t empty a strapped can), wheel it out, and re-strap on return. post #406
Mini-steps:
- Drive a 24-inch rebar or tent stake at a 45-degree angle, 18 inches from the can’s storage spot.
- Run a 36-inch heavy-duty bungee from the stake, through the can’s tow handle, and back.
- Tension it so the can can’t tip past 30 degrees, tight enough to resist, loose enough to unhook one-handed.
- On collection day: unstrap, wheel out, re-strap on return. Make it a habit, not a project.
Watch out: bungees degrade in UV, replace them yearly, and never use a frayed bungee. A snapped bungee under tension is an eye injury.
12. Sloped Ground: Chock It Uphill
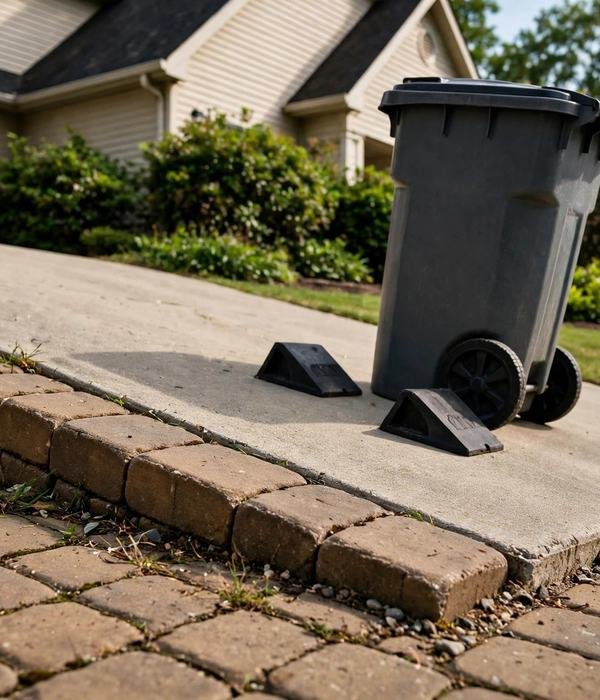
On a slope, a wheeled can is a slow-motion escape artist, creeping downhill until it’s against the fence or tipped in the street. The fix: place the can on the uphill side of its pad and chock the downhill wheels with rubber wheel chocks (the $10 trailer kind) or a cut 4×4 block.
For permanent slope storage, level the pad itself, gravel built up on the downhill edge with a paver retaining edge, then chock as backup. Slope toward the street? Add the wind strap from point 11: downhill roll plus a gust is how cans end up in traffic.
Mini-steps:
- Identify the slope direction, set the can’s home position on the uphill half of the pad.
- Chock both downhill wheels with rubber chocks every time the can returns.
- For slopes over 5 degrees, build the pad level with a paver retaining edge on the downhill side.
- Test it: push the can gently downhill, if the chocks hold, you’re set.
Watch out: on collection day, a chocked can on a slope rolls fast once released, keep a hand on the handle from the moment you pull the chocks until it’s at the curb.
Cleaning & Odor Control
An outdoor can that never gets washed becomes a bacterial culture with a lid. The wash cadence and the bleach protocol below are the core of odor control, everything else is a supplement.
13. Wash Cadence: Monthly in Summer, Quarterly in Winter
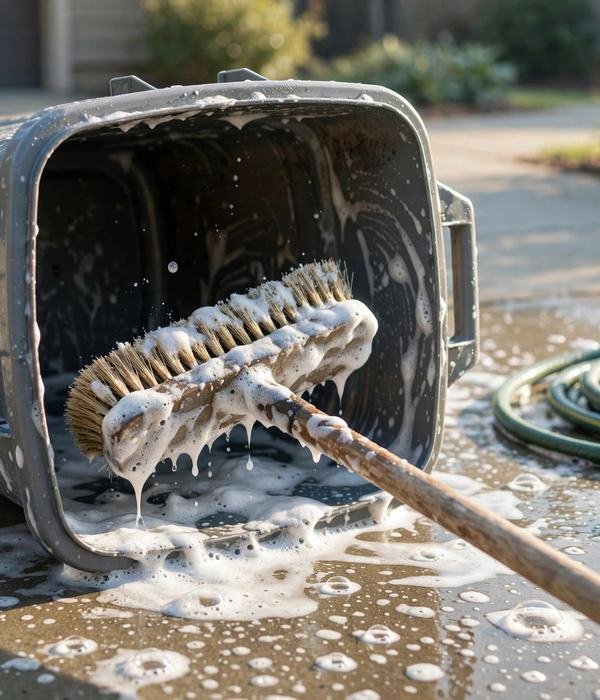
Bacteria double every 20 minutes in summer heat, and a trash can’s interior, warm, damp, food-coated, is an incubator. The cadence that controls odor: wash monthly May through September, quarterly October through April.
Monthly summer washing prevents the biofilm layer (the slimy interior coating) from establishing; once biofilm sets, it takes bleach and scrubbing, while a monthly rinse-and-soap wash takes ten minutes. Mark it “first Saturday” on the calendar, easier to keep than “when it smells,” because by the time it smells, you’re already behind.
Tips for best results: wash the morning after collection day, when the can is empty, never try to wash around a week’s worth of trash. A long-handled deck brush ($15) keeps you out of the splash zone.
Tilt the can toward the lawn or gravel, not the storm drain, wash water with food residue belongs on soil, not in waterways.
Watch out: if the can already smells like death before you start, do the bleach protocol (point 14) first, soap alone won’t cut established biofilm.
14. The Bleach Protocol: 1:10, 15 Minutes, Rinse
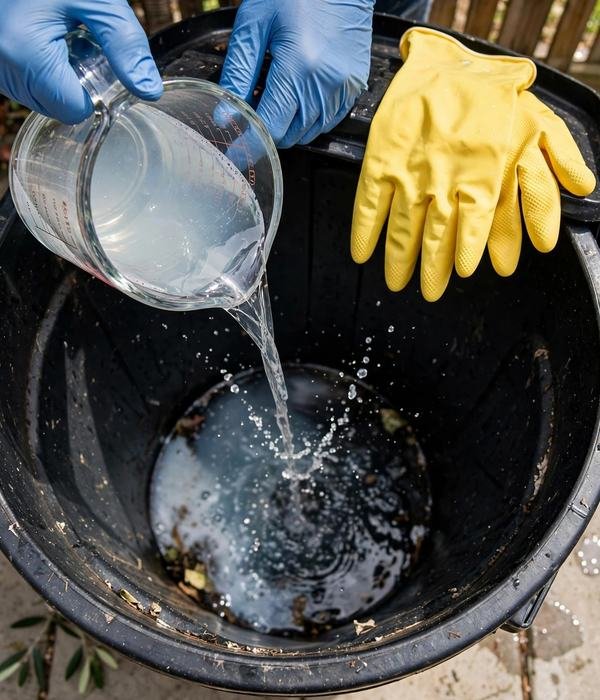
When soap isn’t enough, the smell that survives a regular wash, it’s time for the bleach protocol. Mix 1 part regular unscented household bleach to 10 parts water (about 1.5 cups per gallon of water) and swish to coat all interior surfaces.
Let it dwell 15 minutes, dwell time is what kills, not concentration, then rinse thoroughly. Wear gloves and work in ventilation; bleach fumes in an enclosed garage are miserable. Never mix bleach with vinegar, ammonia, or any other cleaner, the fumes are dangerous.
Dish soap, baking soda, and bleach used separately are the complete safe toolkit.
Tips for best results: apply the solution with the can on its side and roll it so every interior surface gets coated, pouring it in the bottom misses the upper walls where the smell lives.
Watch out: bleach kills the smell but not the cause. If the odor returns within a week, the problem is what’s going into the can (unbagged food scraps) or a cracked, porous interior, see points 21 and 25.
15. The Baking-Soda-and-Vinegar Between-Wash Reset

Between full washes, a 10-minute reset keeps odor from rebuilding: sprinkle 1 cup of baking soda across the can’s bottom and lower walls, spray with undiluted white vinegar until it fizzes, and let it sit 20 minutes before rinsing.
The fizzing is carbon dioxide lifting the grime film off the plastic, it’s mechanical cleaning, not magic, and the baking soda neutralizes the acidic odor compounds that make trash smell like trash.
This is the safe weekly routine for households that generate a lot of food waste: no harsh chemicals, no fumes, safe around the garden bed the can sits beside. It won’t fix established biofilm (that’s the bleach protocol’s job), but it prevents biofilm from establishing between washes.
Tips for best results: do the reset on collection morning right after the truck leaves, the can is empty, and 20 minutes of dwell time passes while you put the can away and have coffee.
Keep a dedicated spray bottle of vinegar and a box of baking soda in the garage by the can station so there’s zero setup friction.
Watch out: don’t combine this with the bleach wash on the same day, vinegar residue plus bleach makes chlorine gas. Separate routines, separate days.
16. Drain Plugs: Empty the Sludge Reservoir
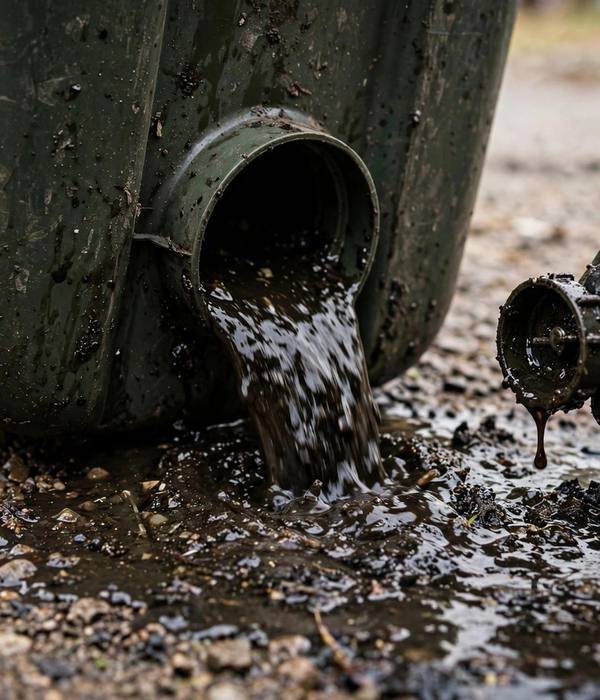
Many wheeled carts have a small drain plug near the bottom, and the sludge that collects beneath it is the concentrated essence of everything the can has ever held.
Liquid from bags, rainwater through the lid seam, and condensation all pool at the can’s lowest point, where they ferment into a black, stinking reservoir that no amount of top-washing reaches. The fix: pull the plug after every wash (and monthly in summer even without washing) and tilt the can to drain it fully onto soil or gravel.
If your can lacks a plug, drill a 1/2-inch drainage hole at the lowest point of the base, it prevents the reservoir from forming at all, at the cost of minor leakage onto the pad (which is why the can sits on gravel, point 9).
Tips for best results: check the plug’s gasket yearly, a cracked gasket weeps sludge continuously, which is worse than no plug at all. When you pull the plug, sniff: if the drained liquid smells sharply sour, the can needs the bleach protocol (point 14), not just a rinse.
Watch out: drain the sludge onto soil or gravel, never into a storm drain or toward a vegetable garden, it’s concentrated leachate, not fertilizer.
17. Deodorizing Layers: Charcoal, Scented Bags, Enzyme Sprays
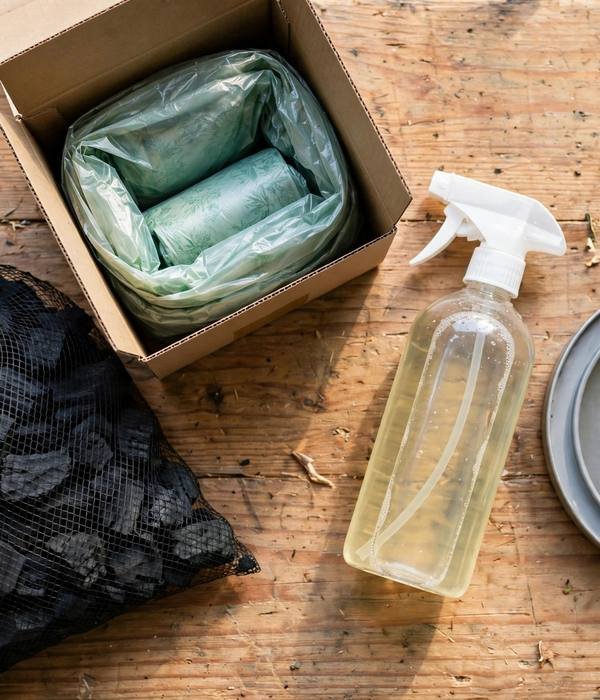
Washing removes odor; deodorizing layers keep it from rebuilding between washes.
Three layers work, and they stack. Activated charcoal filters, the stick-on kind for trash can lids, or a mesh bag of charcoal briquettes (not the lighter-fluid kind) hung inside, adsorb odor molecules for 4 to 6 weeks before needing replacement or sun-recharging. Scented bags mask what the charcoal misses; the fragrance is a cover, not a cure, but in summer it takes the edge off. Enzymatic sprays (the pet-stain kind) actually digest the organic residue on the can’s interior, spray after each wash, and the enzymes keep working on the biofilm between cleanings.
None of these replaces washing; all of them extend the interval where the can smells like nothing.
Tips for best results: the highest-value layer is the cheapest: a $5 mesh bag of activated charcoal replaced every 6 weeks. Layer the enzyme spray on wash day and scented bags in July and August, and skip the plug-in deodorizers, they’re designed for bathrooms, and they melt in a sun-baked can.
Watch out: charcoal stops working silently, mark the replacement date on the bag with a marker, or you’ll be wondering why the can smells again in month three.
18. Sun-Drying: Flip It Upside Down and Let UV Work
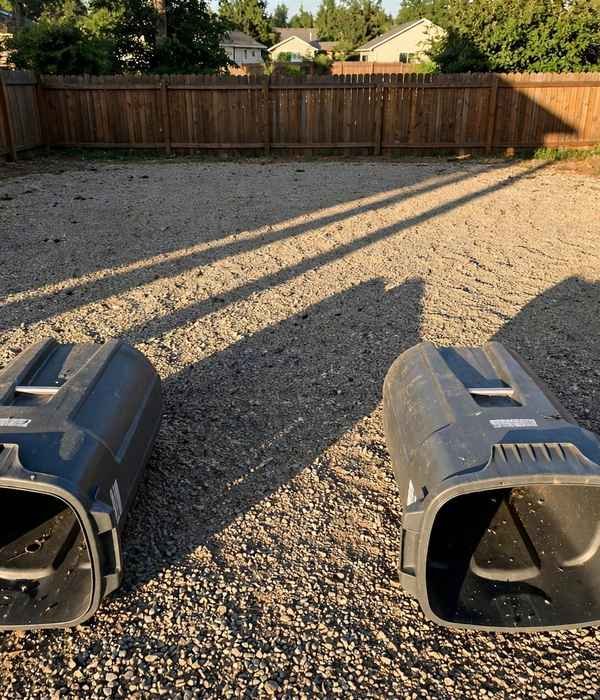
The last step of every wash is free: flip the can upside down and let it sun-dry. UV light kills odor-causing bacteria on contact, and upside-down drying means water drains instead of pooling in the base to restart the cycle. Thirty to sixty minutes of direct sun finishes what the rinse started.
In winter or on cloudy days, prop the can at an angle with the lid off so air circulates, a sealed wet can re-grows its smell within 48 hours. Wash in the morning so the can gets the full afternoon sun.
Tips for best results: after sun-drying, sprinkle a light layer of baking soda on the dry interior before the first bag goes in, it starts the next odor-control cycle from zero instead of from damp. Store the can with the lid cracked (a 1-inch gap) between collections in dry weather; sealed dampness is the enemy.
Watch out: don’t sun-dry a bleach-washed can on the lawn you care about, residual bleach drips bleach the grass. Dry it on the gravel pad or driveway, then rinse the spot.
Animals, Pests & Rules
The can is a food source in a box. Everything in this group is about making that box harder to open, less attractive, and legally compliant.
19. Raccoon-Proof Latches: Gravity Locks Beat Bungees
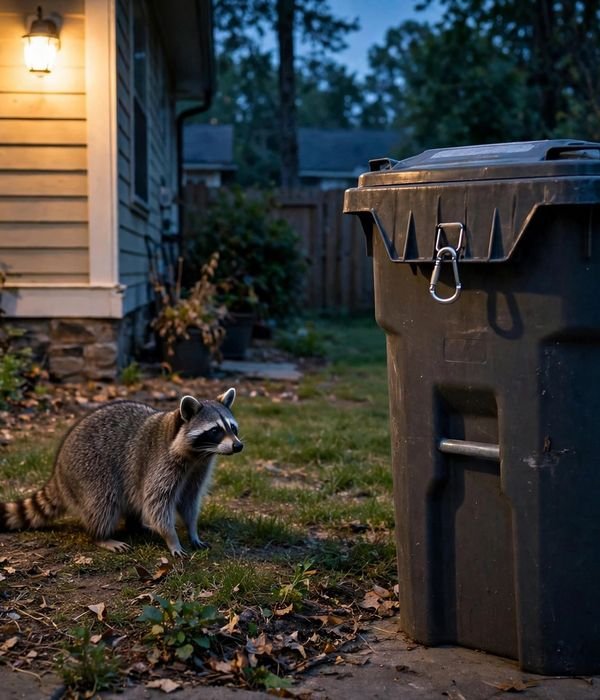
Raccoons have dexterous hands, excellent memories, and all night. They defeat bungee cords routinely, a raccoon hooks a claw under a bungee, walks it sideways, and pops the lid in under a minute, then teaches its kits.
What stops them: gravity-lock lids (point 3), which need the can fully inverted, a position a raccoon can’t achieve, and metal latch hasps with carabiner clips, which need opposable-thumb dexterity. The two-layer approach (gravity lock plus a hasp removed on collection morning) holds where single measures fail.
Raccoon defenses, ranked:
- Gravity-lock lid: stops 90 percent of attempts, works with truck arms
- Gravity lock + carabiner hasp: the belt-and-suspenders setup for persistent raiders
- Bungee alone: slows them down for one night, then they learn
- Nothing: you’re running a raccoon buffet
Tips for best results: if raccoons are currently raiding, change something the same night you install the lock, move the can’s spot, or start double-bagging. A raccoon that fails once usually tries twice; a raccoon that fails twice usually moves on.
20. Bear Country Rules: Certified Cans and Dusk Deadlines
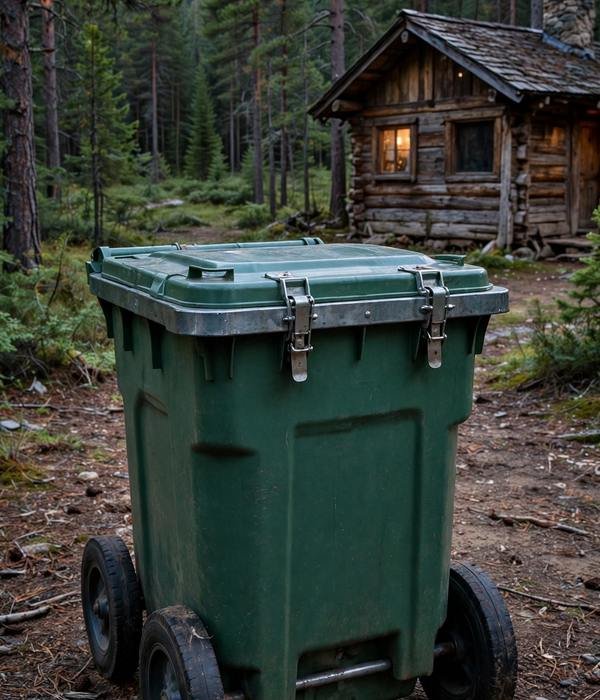
In bear country, a trash can is a safety issue. A bear that learns garbage is food becomes habituated, and habituated bears get euthanized, securing your trash literally saves bears’ lives.
The standard: an IGBC-certified bear-resistant can, tested against real grizzly bears for 60 minutes of chewing, clawing, and rolling at the Grizzly & Wolf Discovery Center in West Yellowstone, with metal-reinforced rims, steel U-bolt hinges, and human-dexterity latches. Certification numbers are issued per product and listed on the IGBC site; “bear-proof” without a number is marketing.
Second rule: cans in by dusk, every night, many bear-country ordinances require bear-resistant storage at all times and fine overnight cans at the curb.
Bear-country rules:
- IGBC certification number or it doesn’t count, check the IGBC product list
- Cans secured by dusk, every night, no exceptions for “just this once”
- Never leave a certified can unlatched “because it’s heavy”, an unlatched bear can is a regular can
- Bird feeders, pet food, and grills count as attractants too, the can is only one piece
Tips for best results: if your town runs a cart program, ask the hauler about bear-resistant cart options, many bear-country haulers stock IGBC-certified carts in 32, 64, and 96 gallons, and the cart program price beats retail.
21. Maggot Prevention: Double-Bag and Freeze the Meat
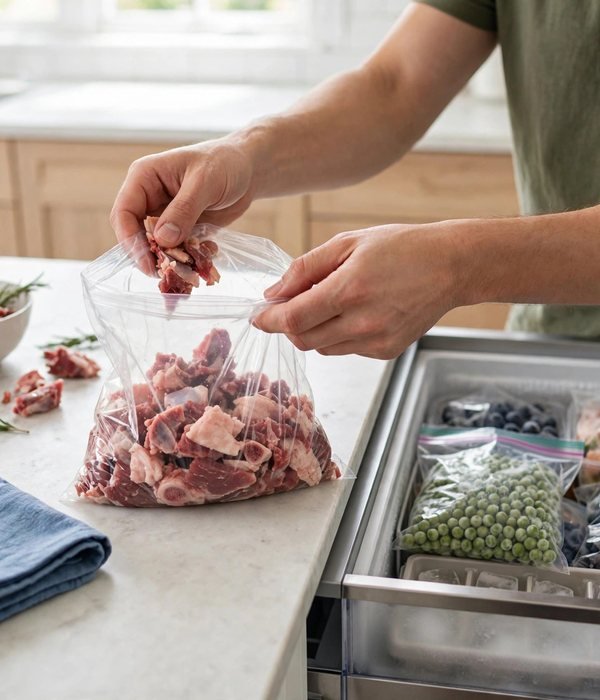
Maggots are fly larvae, and flies lay eggs on food waste within hours in summer heat, meat scraps in a warm can on Monday become a maggot farm by Thursday. Double-bag meat, fish, and dairy: inner bag tied off, outer bag tied off, so flies never reach the food. Freeze the worst offenders: keep a bag in the freezer for meat trimmings, bones, and fish waste, and move it to the outdoor can on collection morning, zero days of warm decay, zero maggots.
If maggots are already present, the bleach protocol (point 14) kills them; then start the freeze routine so they don’t return.
Maggot prevention checklist:
- Double-bag all meat, fish, and dairy, two tied knots, not one
- Freeze meat scraps until collection morning in summer
- Keep the lid fully closed, flies need only a crack
- Rinse the can after any bag leaks; dried meat juice is a nursery
Tips for best results: the freezer-bag method sounds extreme until the first maggot summer, after that, it feels like the most obvious thing in the world. A gallon freezer bag holds a week’s worth of scraps for most households.
22. Wasp Control: Rinse the Sugary Stuff
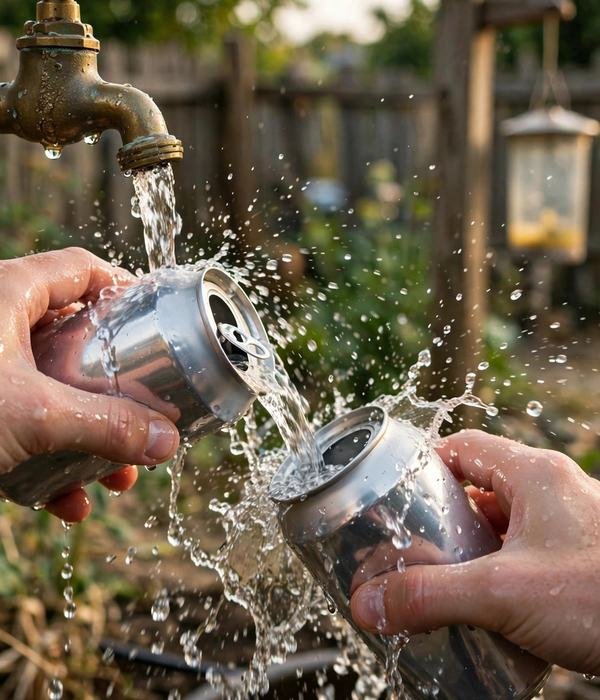
Late summer is wasp season, and wasps want one thing from your trash: sugar. Soda cans, juice bottles, and fruit waste turn a can into a wasp magnet August through October, and a nest in the lid hinge is a dangerous surprise on collection morning.
The fix: rinse every sugary container before it goes in, a 5-second rinse removes the residue wasps smell from 50 yards. Keep lids tight in late summer specifically.
If wasps are circling, check lid hinges for nest starts (papery gray blobs the size of a quarter); knock down quarter-sized nests in the evening when wasps are dormant, and leave anything larger to a professional.
Wasp rules:
- Rinse soda, juice, beer, and fruit containers, 5 seconds each
- Tight lids August through October, no exceptions
- Check lid hinges monthly in late summer for nest starts
- Never swat at a wasp near the can, it releases an alarm pheromone that summons the colony
Tips for best results: a wasp trap hung 20 feet away from the can (not on it) draws foragers off the trash, on the can, it just concentrates them where your hands go.
23. HOA Enclosure Standards: Match the Fence Line
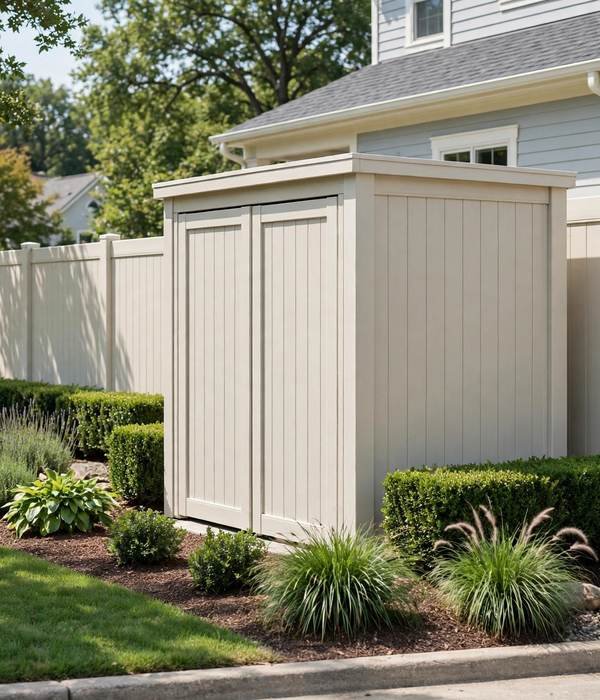
The HOA letter about visible cans is one of the most common citations in planned communities, and one of the easiest to resolve permanently. Most HOAs specify three things: material (wood slat or vinyl), height (usually matching the fence line, 4 to 6 feet), and gate or screening.
Build to the standard, not around it: an enclosure matching the fence material and height reads as part of the property, while a mismatched one invites a second letter. Get the standard in writing before you build, email the board and keep the reply. Verbal approval evaporates when the board turns over.
HOA enclosure checklist:
- Get the material, height, and gate requirements in writing first
- Match the fence line: same material, same height, same stain or color
- Photograph the finished enclosure and keep the approval email, dated proof
- If the HOA has no written standard, propose one: wood slat, fence height, hinged gate
Tips for best results: build the enclosure 6 inches taller than the tallest cart with its lid open, a lid that hits the enclosure top gets left half-open, and a half-open lid is a smell and animal problem wearing an HOA-compliant costume.
24. Collection-Day Timing: Out Late, In Early
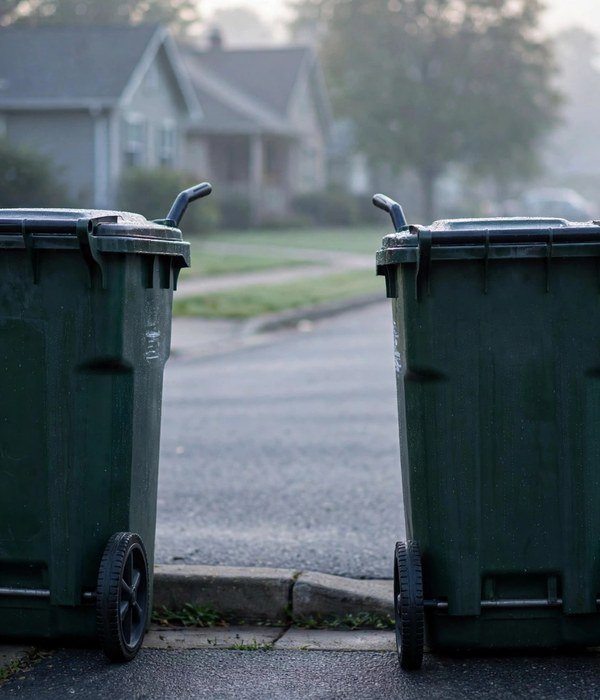
Every hour the can sits at the curb is an hour of exposure, to animals, wind, rain, and the neighbor’s judgment. The timing rule most cities actually write into ordinance: cans out no earlier than the evening before collection (after 6 p.m. is the common line), and back in by the evening of collection day.
Out late means the can spends the raccoon-prime hours (dusk to midnight) secured in its storage spot instead of at the street. In early means it isn’t sitting through the next night’s raid either. For automated routes, have the can at the curb by 6 or 7 a.m., trucks run early, and a missed can waits a full week.
Set a phone reminder for both moves; “I’ll remember” fails by week three.
Collection-day timing:
- Out: evening before, after 6 p.m., never the morning-of scramble
- At curb by 6–7 a.m. for automated routes
- In: by evening of collection day, strapped back in its spot (point 11)
- Missed the truck? Call the hauler same-day, many do courtesy return trips
Tips for best results: pair the can moves with an existing habit, out with the evening dog walk, in with the morning coffee. Habit-stacked chores survive; standalone chores don’t.
25. When to Replace: Cracks, Warps and the Immortal Smell
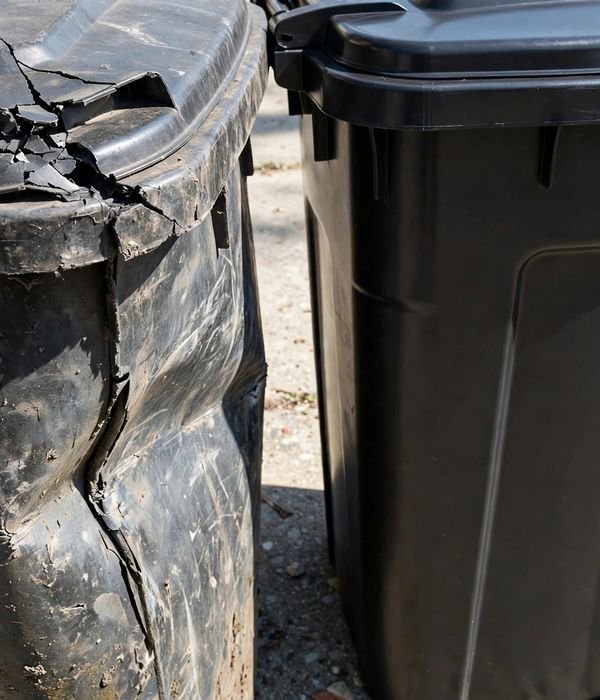
Outdoor cans die slowly, and a dying can undoes everything in this guide, a cracked lid won’t seal, a warped body won’t sit level, and a can whose smell survives bleaching has porous, bacteria-saturated plastic no washing fixes. Replace when: the lid is cracked or won’t latch, the body is warped enough that the lid gaps, wheels or axles are broken (a can you can’t move lives at the curb permanently), or the smell persists after a full bleach wash and sun-dry.
HDPE carts last 5 to 10 years in sun; galvanized lasts 10 to 15 unless the coating fails.
Replace-it-now signs:
- Cracked lid or broken latch, the seal is gone
- Warped body, the lid can’t seat no matter what you do
- Smell that survives bleach + sun, the plastic itself is saturated
- Broken wheels or axle, an immobile can becomes a permanent curbside fixture
Tips for best results: time the replacement for spring, new-can smell season is short, and you’ll get the full summer wash cadence on fresh plastic. Recycle the old can through your hauler’s bulky-waste program, not the regular trash.
Conclusion
Twenty-five ideas, one system: the right size can, stored in the right spot, washed on a schedule, secured against the local wildlife, and compliant with the local rules.
No single tip does the work alone, the gravity-lock lid doesn’t matter if the can is too small to close, and the bleach protocol doesn’t matter if maggots are breeding in unbagged meat scraps.
🗑️ The one pick: if you buy one thing after reading this guide, make it a 64-gallon HDPE cart with a gravity-lock lid and 10-inch wheels, the size that fits most households, the lid that beats raccoons without a second thought, and wheels that survive a gravel driveway.
Pair it with a $10 bag of activated charcoal and the monthly summer wash, and you’ve solved 80 percent of outdoor trash problems for under $150 all-in.
- 10 indoor trash can ideas for every room
- 15 recycling storage ideas that actually get used
- post #406
- post #372
- post #369
Frequently Asked Questions (FAQ)
What size outdoor trash can do I need?
Plan on 32 gallons per person per week. One adult fits a 32-gallon cart; two to three people need 64 gallons; four or more, or biweekly pickup, need 96 gallons. Always check your hauler’s accepted sizes first, since cart-program towns often supply the can and only let you pick the size tier.
When between sizes, size up: a half-empty can with a closed lid beats an overstuffed can with an open one every time.
How do I keep raccoons out of my outdoor trash can?
Start with a gravity-lock lid, it stays shut when tipped and opens only when fully inverted, which a raccoon can’t manage. Bungee cords alone fail because raccoons learn to defeat them in one night. For persistent raiders, add a carabiner-clipped hasp you remove on collection morning.
And reduce the attraction: double-bag food scraps, keep the lid fully closed, and bring the can in by dusk instead of leaving it at the curb overnight.
How often should I clean my outdoor trash can?
Monthly from May through September, quarterly October through April. Summer heat doubles bacteria fast, so the monthly wash prevents the slimy biofilm layer that makes cans permanently stinky. Between washes, a 10-minute baking-soda-and-vinegar reset on collection morning keeps odor from rebuilding.
If the smell survives a full wash, step up to the 1:10 bleach protocol, and if it survives that, the plastic is saturated and it’s time to replace the can.
What’s the best way to get rid of the smell in a trash can?
Wash first, then treat. A soap-and-water scrub with a deck brush handles routine odor; the 1:10 bleach-to-water protocol with a 15-minute dwell handles established biofilm. After washing, flip the can upside down in direct sun, UV kills odor bacteria.
For maintenance, hang a mesh bag of activated charcoal inside (replace every 6 weeks) and use scented bags in summer. Never mix bleach with vinegar or ammonia, use them on separate days.
Where does this trash-can pillar end and the detailed guides begin?
This pillar covers the complete system, choosing, placing, cleaning, and pest-proofing your outdoor cans. The detailed spoke guides go deeper on single topics: indoor can placement room by room, recycling station setups that actually get used, windproofing methods beyond the basics, and head-to-head material comparisons.
If a section here left you wanting more detail, the linked guide below it is the next read.
Do I need a bear-resistant trash can?
Only if you’re in bear country, but there, it’s not optional, it’s often the law. Look for IGBC certification (a real certification number from the Interagency Grizzly Bear Committee’s 60-minute grizzly test), not just “bear-proof” marketing. In suburbs without bears, a gravity-lock lid handles raccoons fine and costs far less.
Wherever you are: bring cans in by dusk, never leave them unlatched, and remember that bird feeders and grills count as attractants too.
Can my HOA really fine me over trash can placement?
Yes, visible-can and placement violations are among the most common HOA citations, and fines compound. The fix is permanent and cheap relative to the fines: build an enclosure to the HOA’s written standard (get material, height, and gate requirements in an email before you build), match the fence line, and keep cans out of sight except on collection day.
Photograph the finished setup with the approval email, dated proof ends disputes fast.