
Most closet cleanouts fail for one simple reason: people start by buying bins. If you want to know how to organize a closet so it stays organized, fix three mistakes first. No zones, so everything migrates everywhere. Mixed hangers, so clothes slide, snag, and bunch.
The third mistake is storage sorted by category instead of by use, so your workout gear lives three shelves from your gym bag. The eight steps below fix all three, in a strict order. You cannot zone a closet that is still full, and you cannot buy the right bins until you have measured.
Why Closets Re-Clutter Within a Week (and How to Break the Cycle)
A closet re-clutters when items have no true home. You put the jeans on the shelf, but so do the leggings, the sweaters, and the bag you carried yesterday. Within a week, every surface holds a little of everything. That is not a discipline problem. It is a design problem, and design is fixable.
The fix is zoning. Each area serves one job (tops, bottoms, shoes, bags), and nothing else is allowed in. When a shirt has no zone, you notice the moment you hold it. That split-second decision is what keeps a closet tidy for months instead of days.
Pair zones with one matching set of slim hangers and you remove the two biggest clutter engines at once. For more on the bigger picture, see these closet organization ideas.
Sorting by use rather than by type matters just as much. Store gym clothes next to the gym bag and the water bottle, not scattered among the other tops. Your morning routine runs on use, not category. An organized closet is one where the most-used items are the easiest to reach, and everything else has a visible, measured home.
Step 1: Empty It Completely
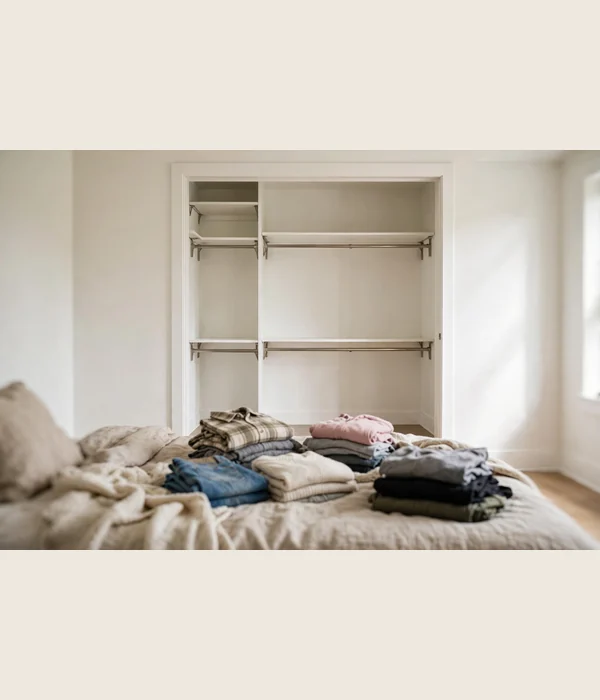
This step feels dramatic, and that is the point. Take every item out of the closet: clothes, shoes, bags, boxes, and the things on the top shelf you forgot existed. You cannot make honest keep-or-purge decisions while the clothes are still hanging. An empty closet shows you the true space you have, which matters when you start measuring.
Working with everything in the open forces you to touch each item once. That single pass is where duplicates surface. Most people find three near-identical black tops or a second pair of jeans they never reach for. Those are your easiest purges.
- Pull everything out and pile it on the bed, in rough groups.
- Vacuum or wipe down the closet shell: shelves, floor, and corners.
- Check the rod for sag and the brackets for loose screws.
- Stack shoes and bags by the door so you can walk around the piles.
- Do not sort or purge yet. That comes next.
Give yourself two to three hours for a standard reach-in closet. Rushing this step is how “maybe” piles sneak back inside.
Check the closet’s bones while it is empty. Tighten bracket screws, wipe sticky shelf liner, and note any cracked drywall. Repairs are ten times easier with nothing in the way.
Step 2: Sort Everything Into Piles
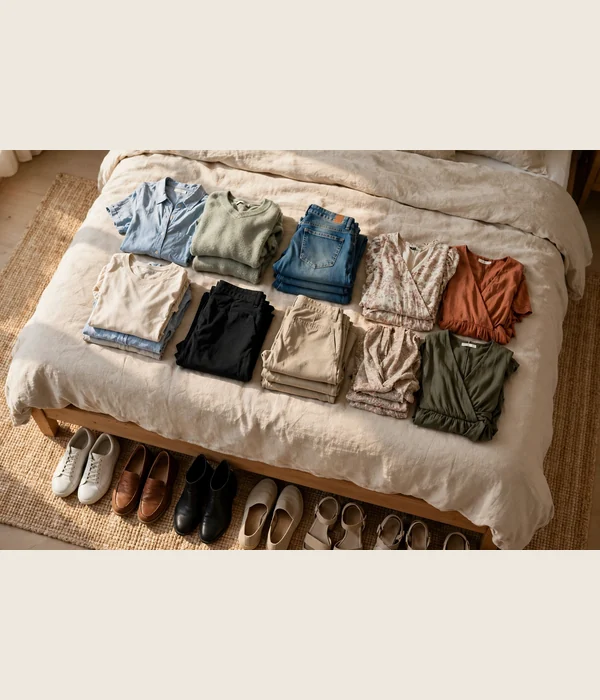
Now sort. Group like with like: all tops together, all bottoms together, all shoes in one row. This is the only time you sort by type, because comparisons only work within a category. You cannot choose between two sweaters when one is on the bed and the other is still buried in the closet.
Keep the piles honest and visible. The stack of jeans you never wear is teaching you something about your habits. That is useful data, not failure. When every pair sits side by side, the keepers pick themselves.
- Tops: shirts, blouses, sweaters, jackets, and coats
- Bottoms: jeans, trousers, skirts, shorts, and leggings
- Full-length: dresses, jumpsuits, robes, and long coats
- Shoes and bags: every pair, every tote, plus belts and scarves
- Out-of-season and damaged: these get their own separate piles
When you finish, the whole wardrobe should be visible at a glance. Count roughly how many items sit in each pile; those counts decide your zone sizes later.
Photograph each pile before you start purging. The photos become your before record, and they make the progress feel real when the closet starts looking emptier.
If a pile is too big to see across, split it further: work tops from going-out tops, denim from trousers. Finer groups make the purge flowchart in the next step work better.
Step 3: Purge With a Decision Flowchart
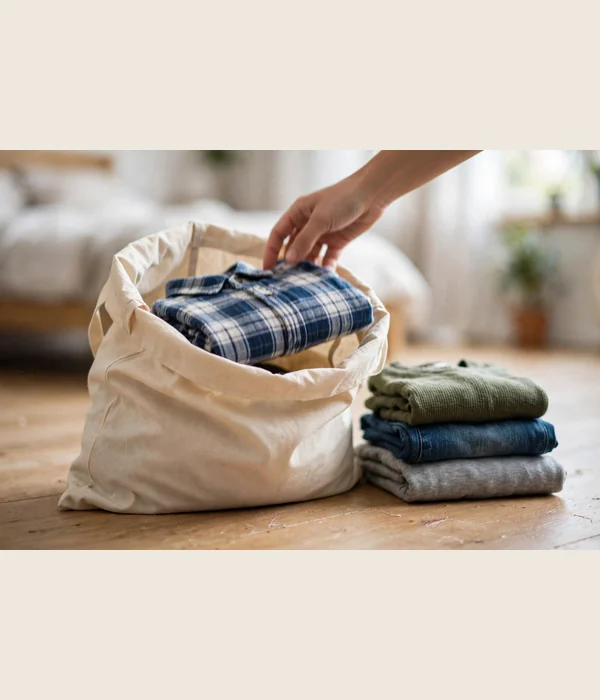
Purging is where most people stall, because every item feels like a maybe. A flowchart removes the maybe. Run each item through the questions in order and stop at the first answer that releases it. Do not skip ahead, and do not make exceptions for the first two questions. They do most of the work.
- Have I worn it in the past 12 months? No: donate or sell it.
- Is it damaged beyond a simple repair? Yes: discard or recycle it.
- Do I own a better version of the same thing? Yes: keep the better one, release the rest.
- Would I buy it again today at full price? No: donate it.
- Does it fit right now, as it is? No: it goes, unless it is one size away and genuinely worth tailoring.
- Yes to everything above: keep it, and hang it back with its group.
Be realistic about the donation bag. A closet that loses 20 to 30 percent of its contents is normal, not extreme. Keep one bag open in the room all weekend so purging stays a one-motion decision.
Schedule the drop-off before you start. A bag that sits in the hallway for three weeks creeps back into the closet one “just in case” item at a time.
Step 4: Measure Your Space
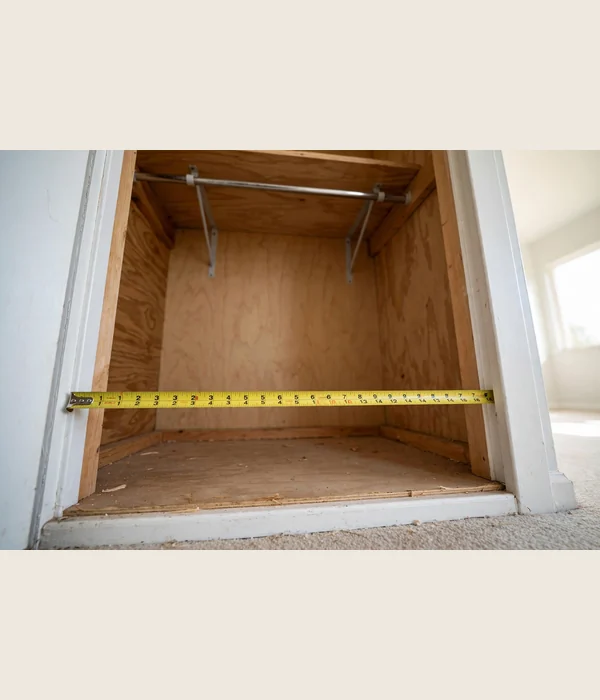
Measure before you buy anything. Most storage purchases fail because the bin is half an inch too deep or the shelf unit blocks the door. A tape measure and five minutes now save you a return trip and a pile of organizers you will never use.
Write the numbers down, or photograph the tape against the wall. You need these figures in hand when you shop, online or in a store aisle. If your closet is on the small side, these small closet layout ideas pair well with the measurements below.
- Width: wall to wall at rod height (most reach-in closets run 48 to 72 inches)
- Depth: back wall to door frame (standard 24 inches; smaller closets measure 20)
- Height: floor to ceiling (usually 84 to 96 inches)
- Rod height: floor to the existing rod, plus space between double rods (aim for 80 to 84 inches upper, 40 to 42 lower)
- Door swing: how far the door opens into the room, so organizers never block it
Tips for best results: measure twice, especially depth, because 1 inch decides whether bins pull out cleanly. Watch out: wire shelving steals a few inches of usable depth, so measure from the front of the shelf, not the wall.
Step 5: Zone It by Use, Not by Type
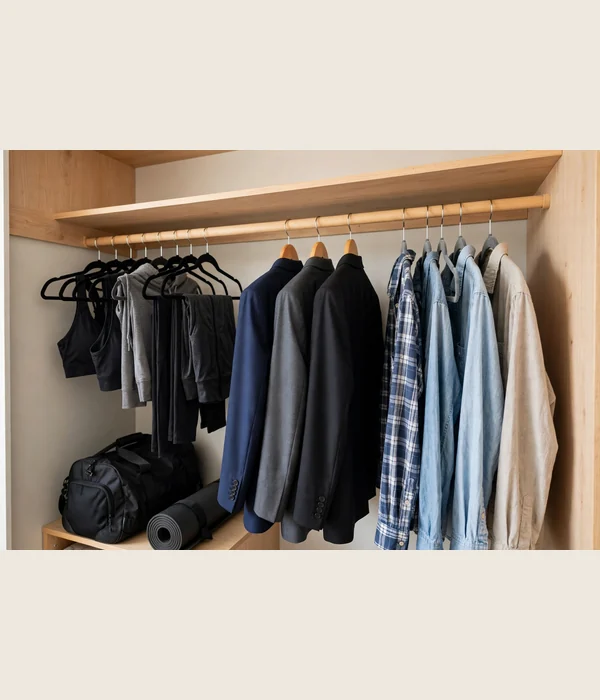
Here is the shift that keeps closets tidy. Instead of one long row of tops and one of bottoms, divide the closet into zones by how you live. A workout zone holds the leggings, sports bras, gym bag, and water bottle together. A work zone holds the blazers and the shirts you reach for on weekdays.
This works because your morning runs on use, not category. When everything for one activity lives in one spot, getting dressed is a single reach instead of a five-stop tour. Items also return to the right place without thinking.
That effortless return is the real maintenance engine. The same logic scales up; see walk-in closet organization if you have room to spread out.
- List your top 3 or 4 weekly activities (work, gym, weekends, going out).
- Assign each a stretch of rod or a shelf, sized to your measurements.
- Put the daily-wear zone at eye level, between 40 and 66 inches off the floor.
- Push rarely worn and out-of-season items to the highest shelf.
- Give bags and shoes their own floor or shelf zone, never mixed with clothes.
Sketch the zones on paper before you hang anything. Moving a zone costs nothing on paper and an afternoon in real life.
Step 6: Choose Storage That Fits the Space
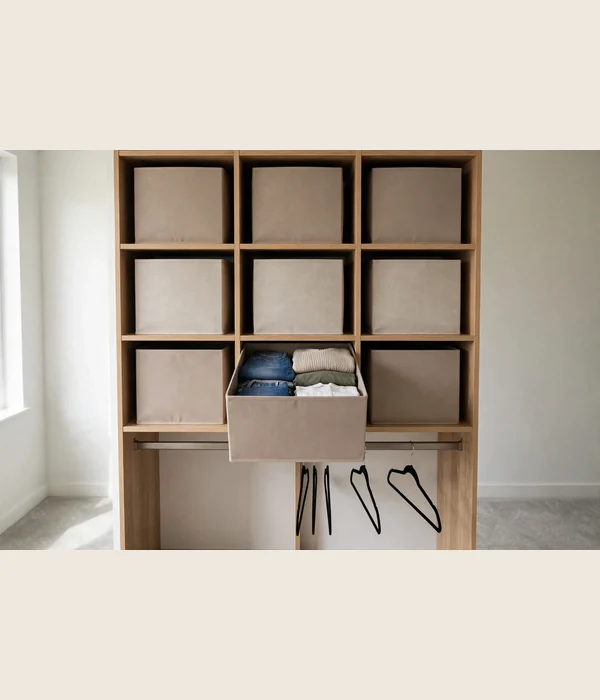
Now, and only now, buy. With your measurements in hand, choose storage that fits the exact inches you recorded. The goal is containers and hangers matched to your closet, not a generic set that almost fits and slowly drives you crazy.
Start with hangers, because they set your capacity. Matching slim velvet hangers measure about 0.2 inches thick versus 0.5 inches for standard plastic, which frees roughly 10 inches of rod for every 25 hangers. That is several extra garments per rod without adding a thing.
- Slim velvet hangers: one matching set, 0.2-inch profile, 17-inch width
- Bins: 11-inch or 13-inch fabric cubes matched to your shelf depth
- Shelf dividers: they keep folded stacks from toppling sideways
- A shoe rack or over-door rack sized to your measured door swing
- Small trays or drawer inserts for belts, scarves, and sunglasses
Skip anything that needs screws if you rent, unless your lease allows it. Tension rods and over-door hooks carry plenty when the main rod is already doing the heavy work.
Bring your measurement list to the store, on paper or on your phone. Aisle decisions made from memory are how wrong-size bins happen.
Buy in one trip if you can. Matching pieces from the same line stack and align better than a mix of brands that almost match.
Step 7: Install and Place Everything
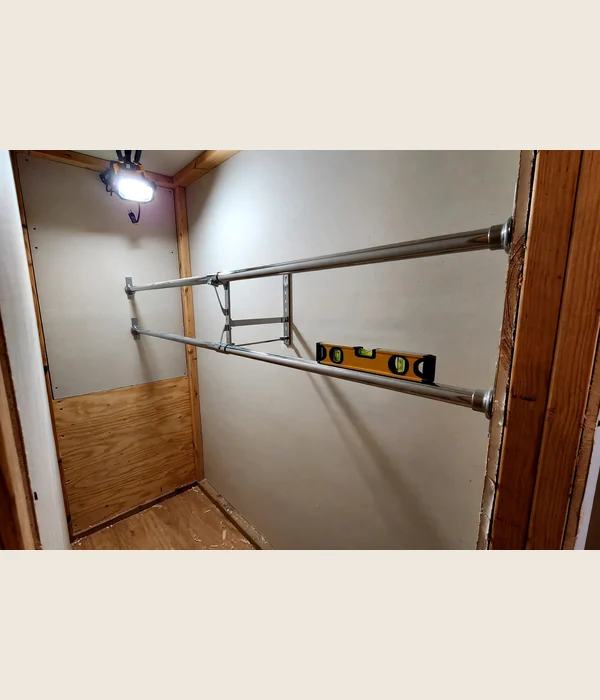
Installation is mostly about the rod. Set double-hang rods with the upper at 80 to 84 inches and the lower at 40 to 42 inches from the floor. That gives shirts and folded pants about 38 to 40 inches of clearance per level, which fits nearly everything except dresses and long coats.
Respect the rod’s limits. A standard 1-inch metal rod holds roughly 50 pounds per linear foot, and any span wider than 48 inches needs a center support. Mount brackets into studs or use proper wall anchors rated for the load. A sagging rod is a sign of too much span, not too many clothes.
Then place by zone. Hang daily wear at eye level, give long items full clearance, and load the top shelf with out-of-season pieces in labeled bins. Face all hooks the same direction. It sounds fussy, but it makes the closet read as calm and makes gaps visible at a glance.
Tips for best results: hang the heaviest coats near the rod ends where support is strongest, and keep about half an inch of air between hangers so you can actually see each garment. Watch out: drywall anchors alone fail under heavy loads, so find at least one stud per rod end with a stud finder first.
Step 8: Maintain With a 10-Minute Weekly Reset
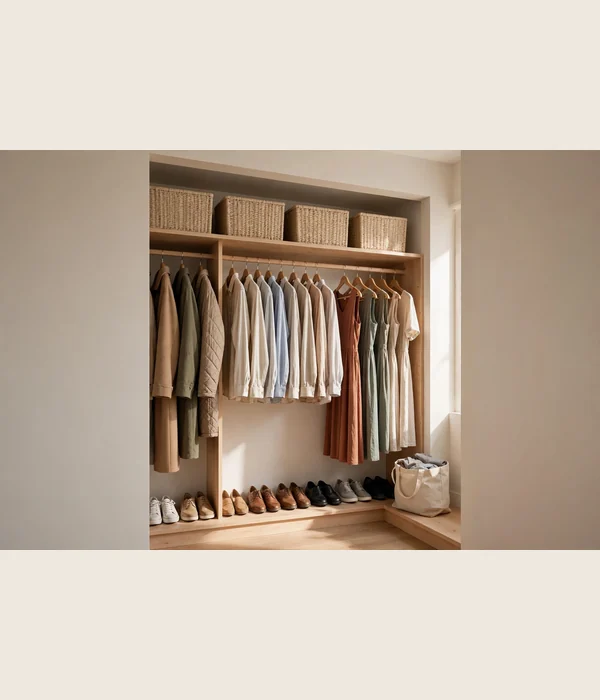
Maintenance is a habit, not a project. Once a week, spend ten minutes resetting the closet. That is short enough to do while the laundry finishes, and it stops the slow drift that turns an organized closet back into a pile.
Work the same loop every time so it becomes automatic: return strays to their zones, rehang anything draped over a chair, slide hangers back into half-inch spacing, toss one thing into the donation bag, wipe a single shelf. If the loop takes longer than ten minutes, your zones have drifted and something needs a new home.
Twice a year, do the seasonal swap. Move the outgoing season to the top shelf in labeled bins, bring the incoming season down to eye level, and purge anything that went unworn. One hour, twice a year, is the only deep maintenance this system needs.
Tips for best results: anchor the reset to laundry day so it rides on an existing habit, and keep an open donation bag inside the closet so purging is one motion. Watch out: if the reset keeps running to twenty minutes, a zone no longer matches how you live. Move it now, before the drift spreads.
Conclusion
If you take one thing from this guide, let it be this: Do this first. Measure the closet before you buy a single bin. Every step that follows gets easier when your storage fits the actual inches instead of the inches you guessed.
The system holds because it runs on zones and a ten-minute weekly reset, not on willpower. Empty it, sort it, purge it, measure it, zone it, fit the storage, install it, and keep the reset on your calendar. That is the whole method, and it works in closets of every size.
Frequently Asked Questions (FAQ)
How long does it take to organize a closet?
Plan one weekend. Emptying and sorting take two to three hours for an average reach-in closet, and measuring, zoning, and installing take another two to three. If you already own bins that fit, you can finish in a single full day. If you need to shop first, split the work across two days.
How do I organize a closet with no built-in shelves?
Use freestanding and no-drill pieces: stackable 11-inch cubes, a tension-rod double hang, and an over-door rack for shoes. If you rent, skip screw-mounted systems entirely; freestanding towers and tension rods hold plenty and leave no marks. Measure depth first so nothing blocks the door.
How to organize a closet when you share it with a partner?
Split the closet down the middle and give each person their own zones, their own rod section, and their own bins. Label the shelves so the boundary stays visible. If space is tight, assign by use rather than by person: daily wear gets eye level, and the rest moves up or down.
Should I switch to matching hangers or keep what I have?
If your closet is packed, switch. Slim velvet hangers at 0.2 inches thick free about 10 inches of rod per 25 hangers versus 0.5-inch plastic, and the grip stops clothes sliding into a bunch. If your closet is half empty, keep what you have and spend the money on bins instead.
How often should I purge my closet?
Do a full purge once a year, timed with the seasonal swap. That is when unworn items are obvious. Between purges, the weekly reset handles the small stuff: one item into the donation bag whenever something stops earning its place. Never let the bag sit full for more than a month.
Where do out-of-season clothes go in a small closet?
The top shelf, in labeled bins or vacuum bags, since it is the hardest zone to reach. Vacuum bags compress bulky sweaters and coats to about a third of their volume. Keep one current-season layer accessible anyway; weather turns faster than the calendar does.
How do I stop shoes from taking over the closet floor?
Give shoes a defined zone with a real limit: one rack, one row, or one over-door organizer, sized to what you measured. When the zone is full, one pair leaves before a new pair enters. Store off-season shoes in labeled bins on the top shelf so the floor zone holds only what you wear now.